

Transfer
When you have a notebook in one workspace but want to move it to another workspace, use Transfer, under the notebook menu () Settings.
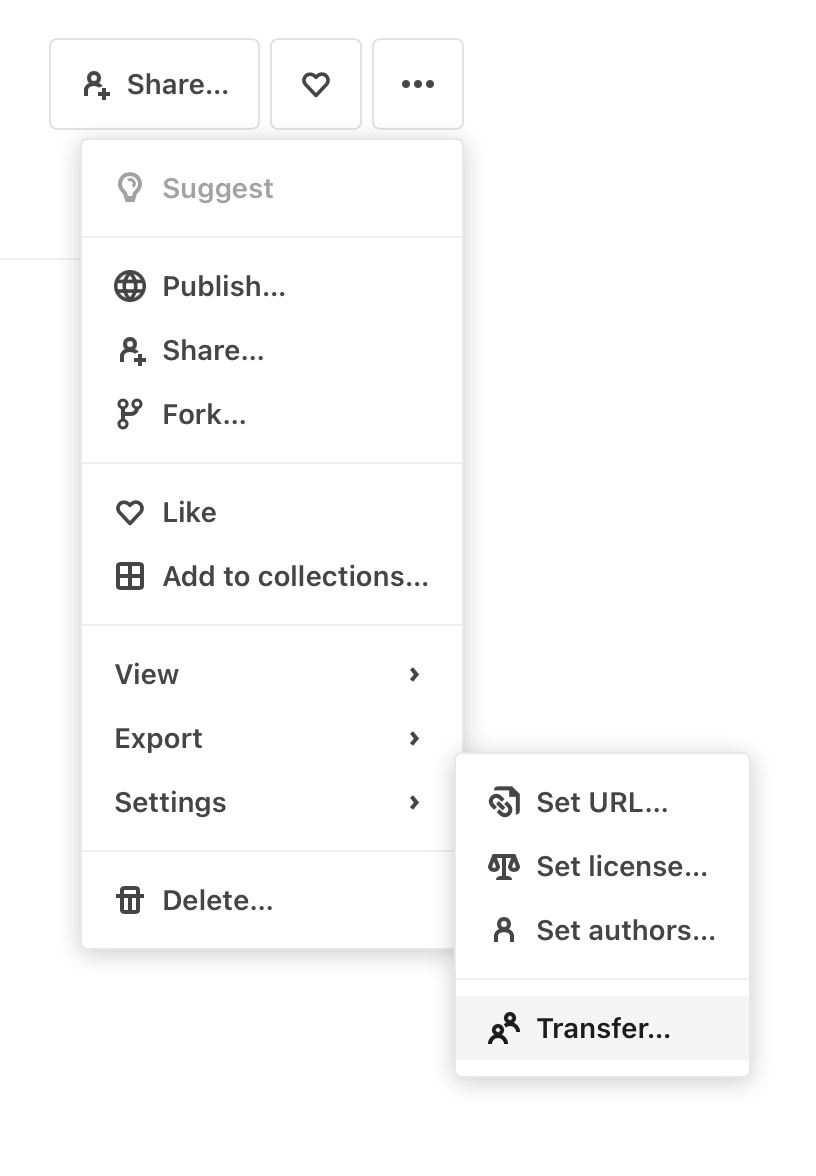
For example: if you have a notebook created in your individual workspace and want to transfer it to a team workspace, choose Transfer as just described, and fill out the resulting dialog box appropriately:
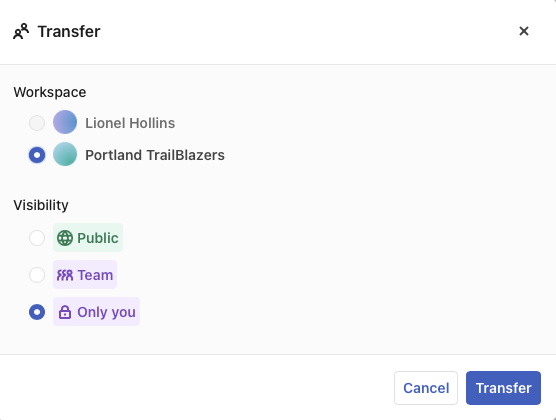
In the example shown, the user Lionel Hollins is transferring a notebook created in his individual workspace to his team workspace, and has a choice of making the notebook visible to the Public, to the Team only, or to himself only.
The Transfer dialog box will only show you options that are available. If you are in a Free Individual or Pro Individual workspace, for example, and do not belong to any team workspaces, the Transfer menu item will not appear, because your notebooks cannot be transferred to any other workspace, and you will not have permission to transfer notebooks that you did not create.
You can only transfer notebooks from and to workspaces where you have edit permission. For example, if you are a viewer in a team workspace, you cannot transfer a notebook into our out of that team.
To work on a copy of a public notebook created by another Observable user, use forking.