Observable Desktop User guide
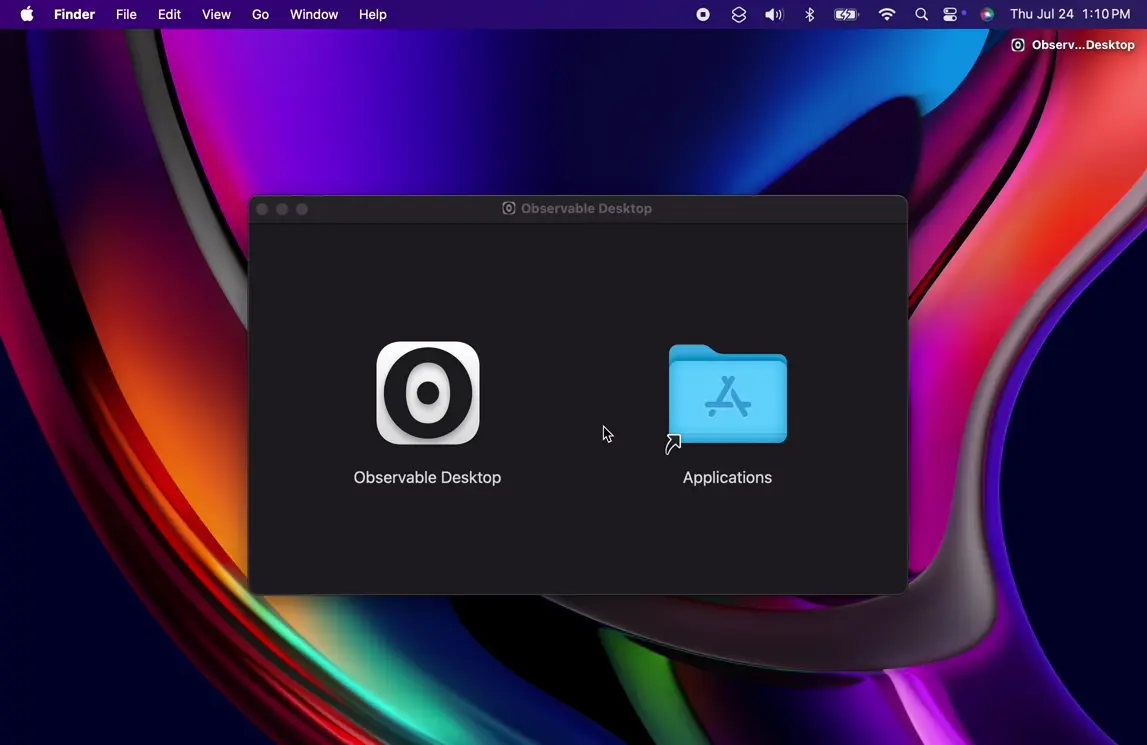
- Download and open the disk image (
.dmg). - Copy Observable Desktop to your Applications folder.
- Double-click to open the application.
Signing in
Observable Desktop requires an Observable account. If you don’t already have one, you can create one when you sign in.
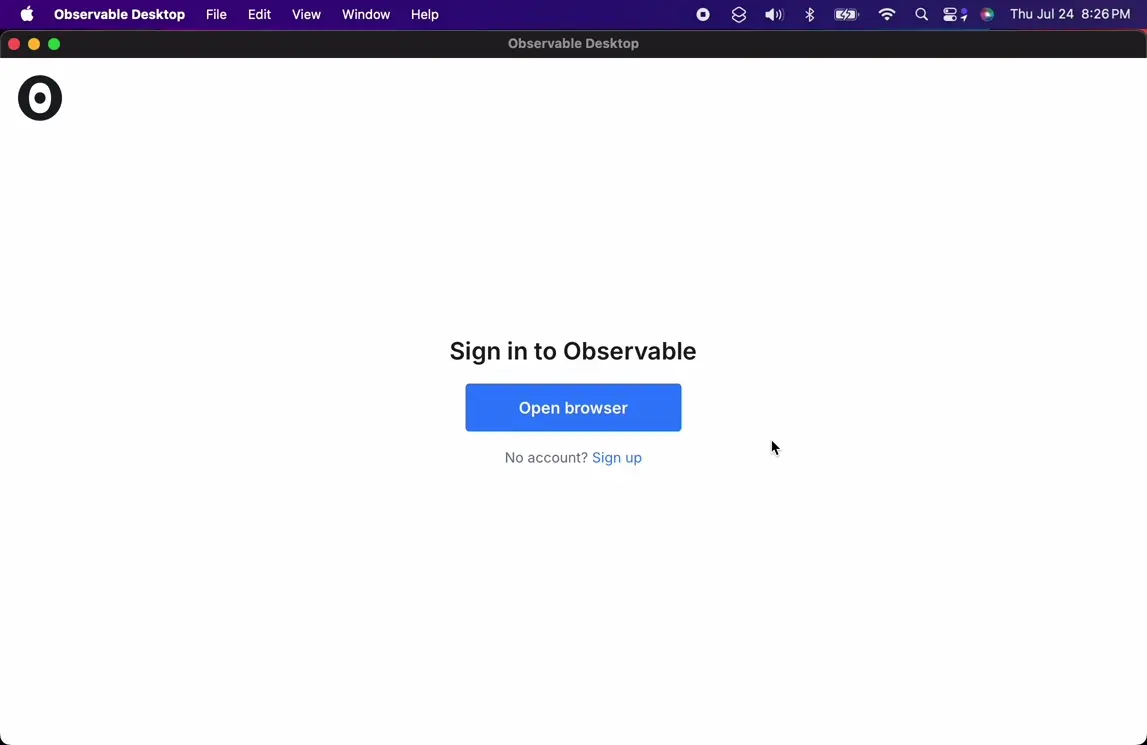
- Open Observable Desktop, then click Open browser.
- If needed, sign in to your Observable account, or create an account.
- Click Authorize the desktop app.
- Close the Success window to return to Observable Desktop.
- Wait a few seconds for Observable Desktop to sign in.
Creating and opening notebooks
Notebooks are stored as local .html files. New notebooks are not saved until you save them, but subsequent edits are saved automatically.

- Choose File > New ⌘N to open a new, blank notebook.
- Make any edits, as desired.
- Choose File > Save ⌘S to save your notebook.
- Choose File > Open ⌘O to open a notebook.
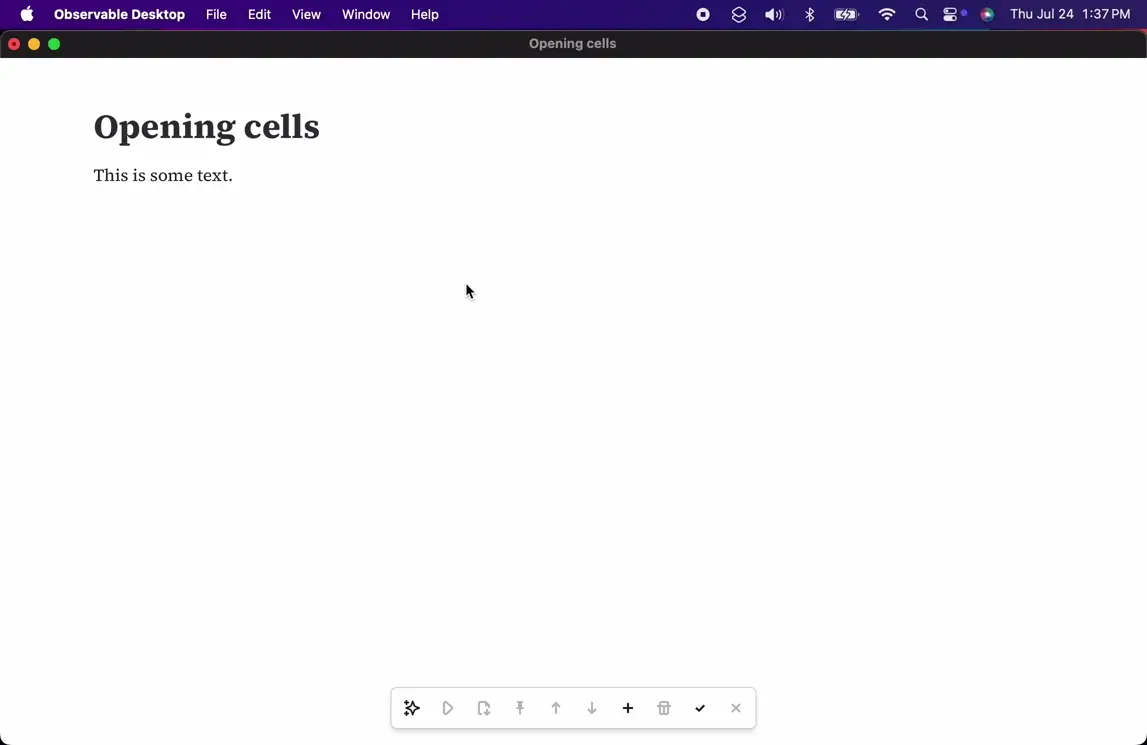
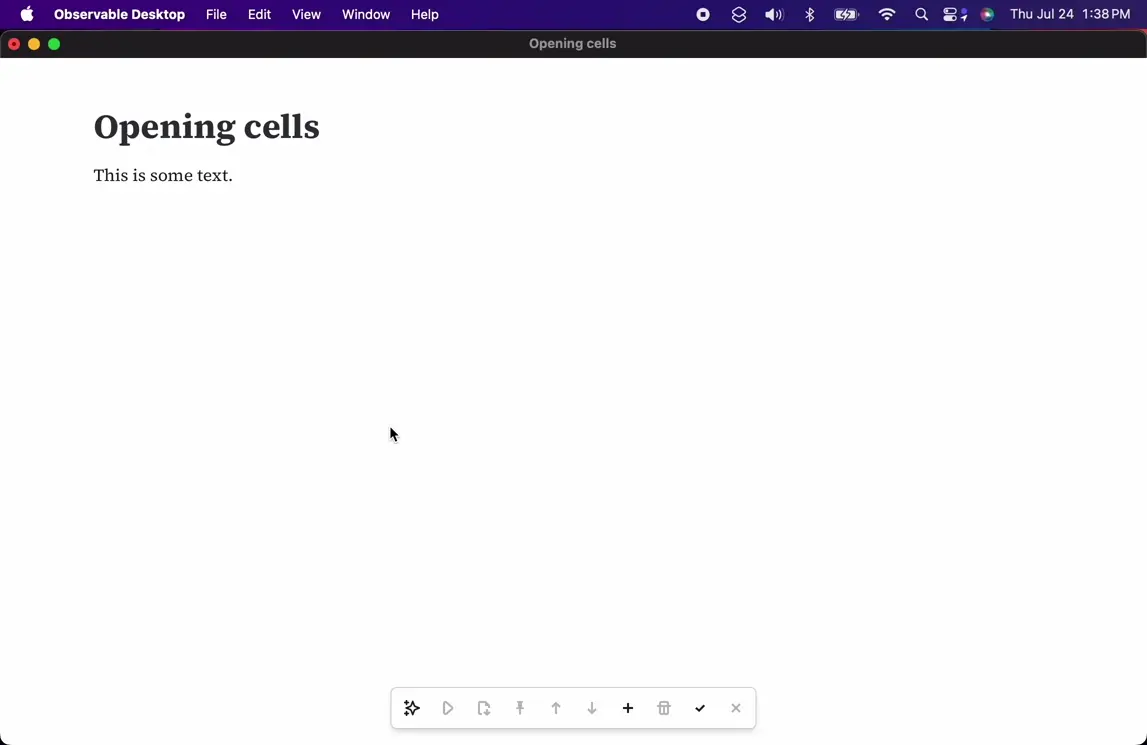
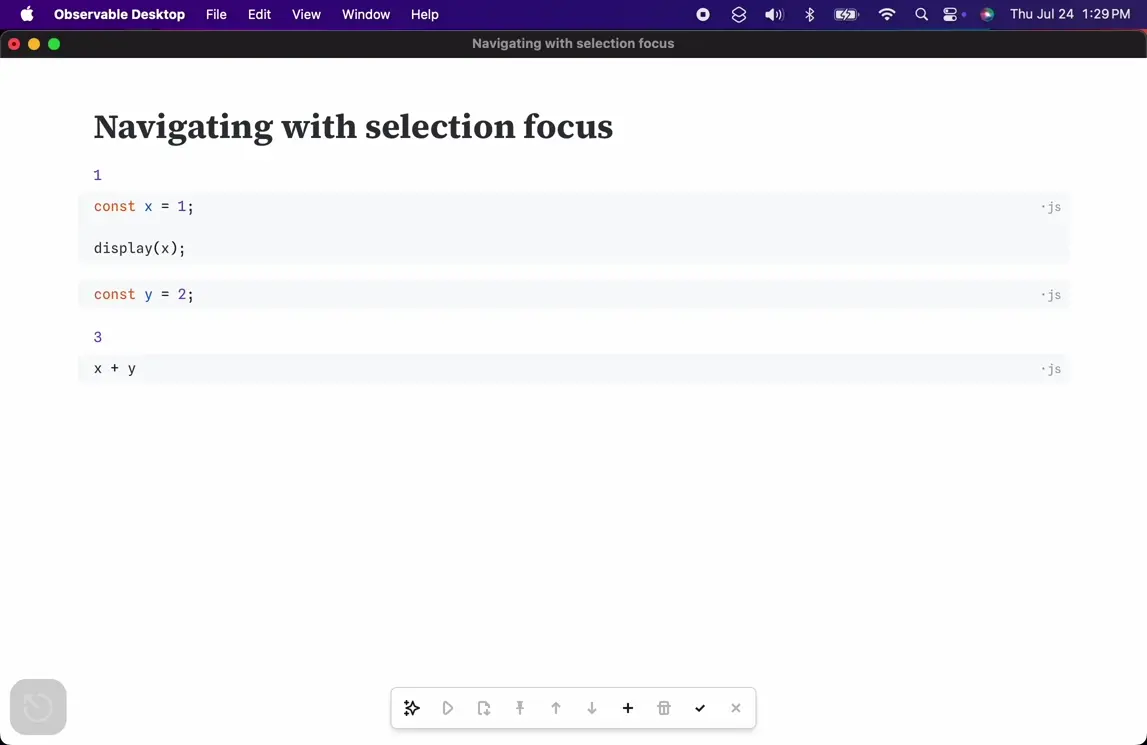
Opening and closing cells
Notebooks are comprised of small programs, or cells, which can be written in Markdown, HTML, JavaScript, and other languages. A cell’s source code is visible below the cell’s output if the cell is pinned or focused.
- Click the left gutter to focus the cell.
- Edit the cell as desired.
- Click the left gutter to blur the cell and run the new code.
- enter ↩︎ to select the cell, then enter ↩︎ again to focus it.
- Edit the cell as desired.
- esc ⎋ to select the cell, then esc ⎋ again to blur it.
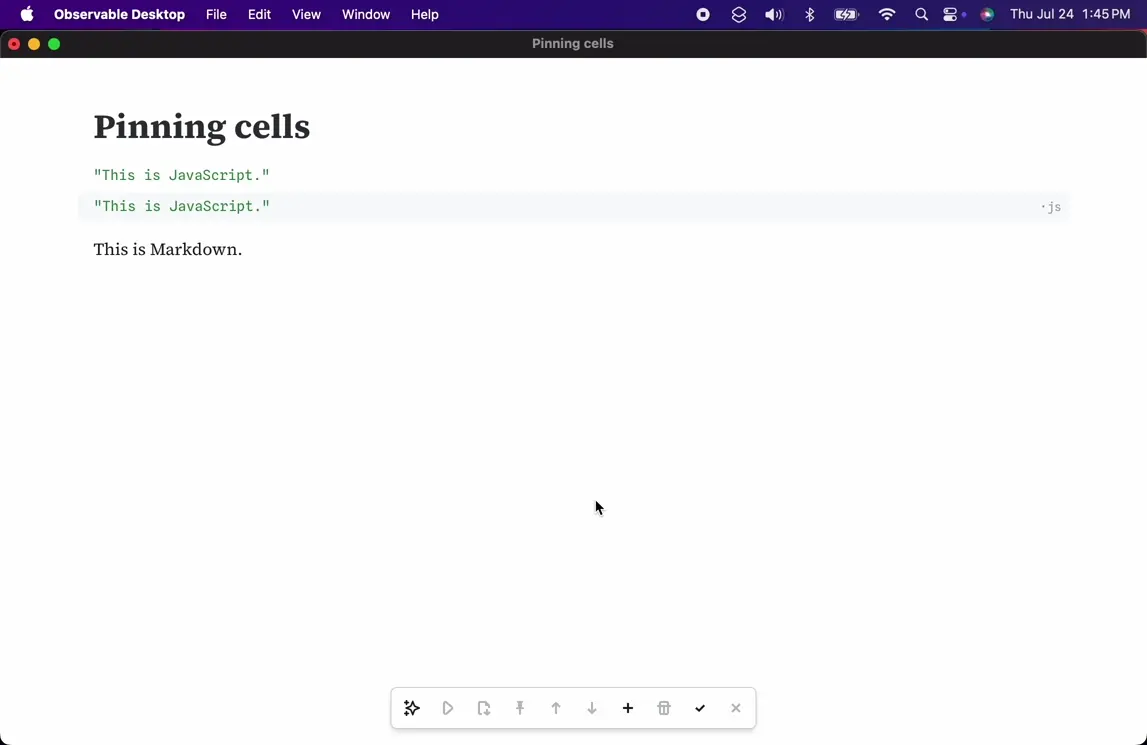
Pinning cells
Pinned cells stay open even when they are not focused. JavaScript cells are pinned by default, but other cells default to unpinned. If a cell doesn’t display anything, it will stay open regardless of whether it is pinned.
- Click the left gutter to focus the cell.
- Click the pin icon in the toolbar.
- Click the close icon in the toolbar to blur the cell.
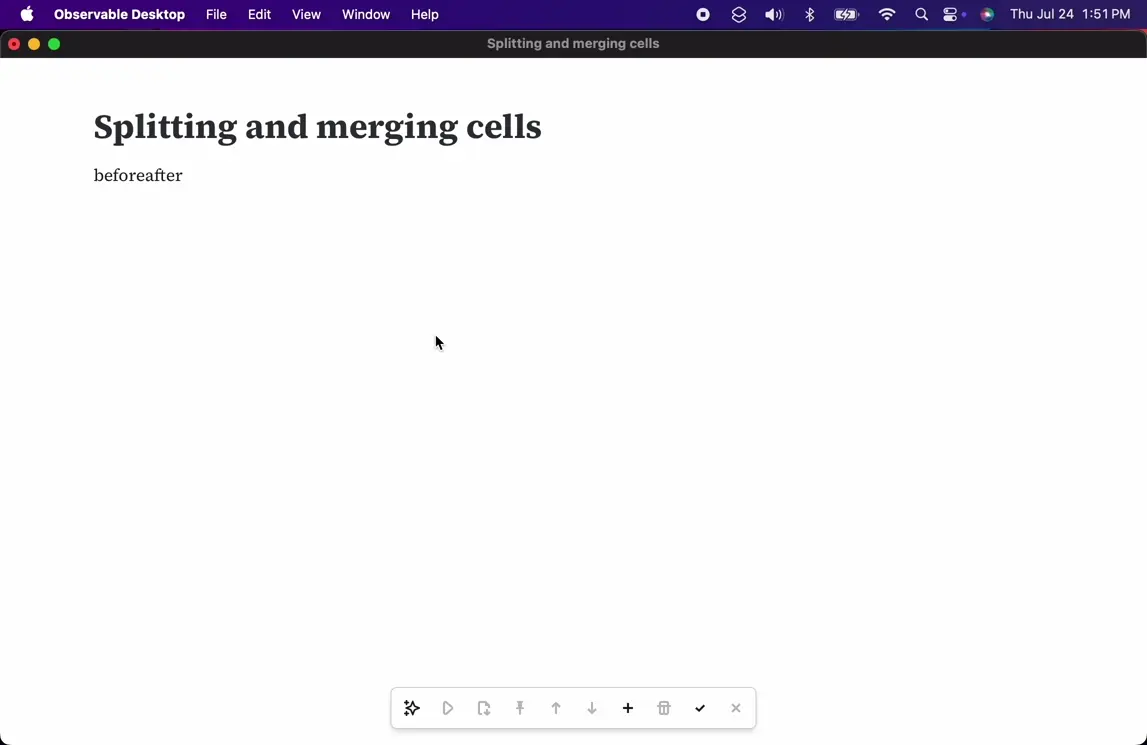
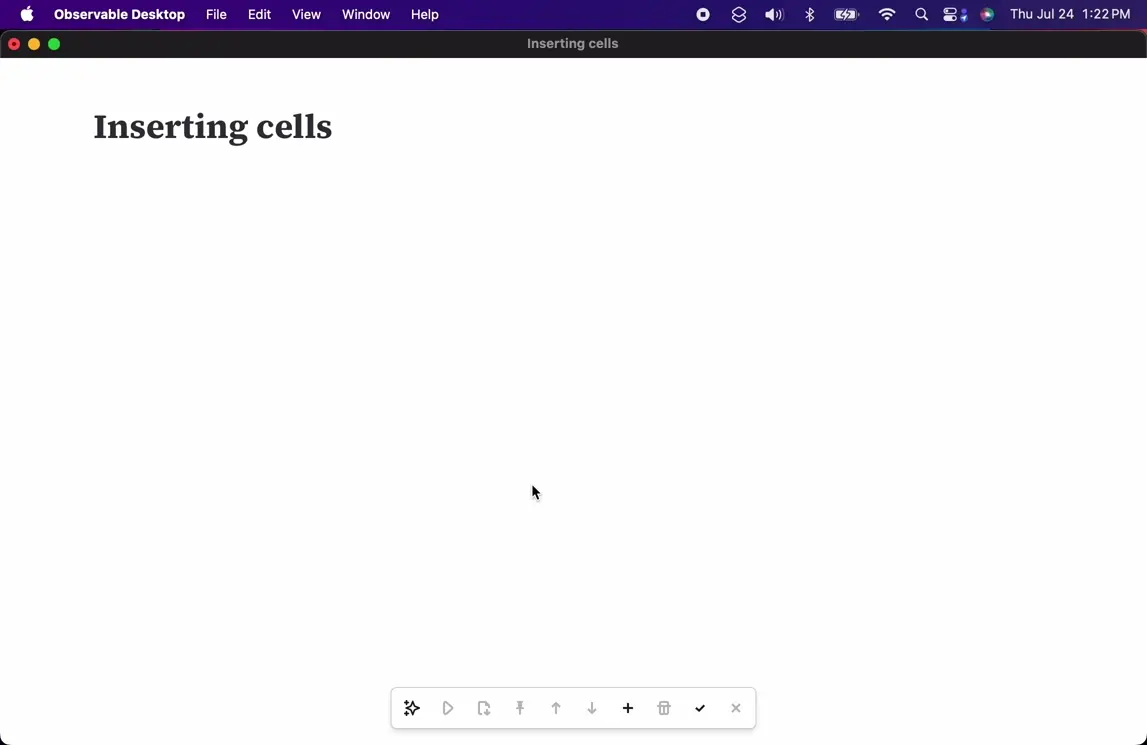
Inserting and deleting cells
You can split existing cells or merge them together. You can also insert new, blank JavaScript cells. You can delete cells after selecting them. Empty cells are deleted automatically on blur.
- Split a cell at the caret with option-enter ⌥↩︎.
- Merge a cell into the previous cell with option-delete ⌥⌫.
- Split a cell at the caret with option-shift-enter ⌥⇧↩︎.
- Marge a cell into the next cell with control-option-D ⌃⌥D.
- Insert a JavaScript cell below with command-enter ⌘↩︎.
- Insert a JavaScript cell above with shift-command-enter ⇧⌘↩︎.

- Insert a JavaScript cell by clicking the inserter.
- Insert a Markdown cell by option ⌥-clicking the inserter.

- Focus a cell, say by clicking the editor.
- Select the cell with esc ⎋.
- Delete the cell with D.
- Clear the selection with esc ⎋.
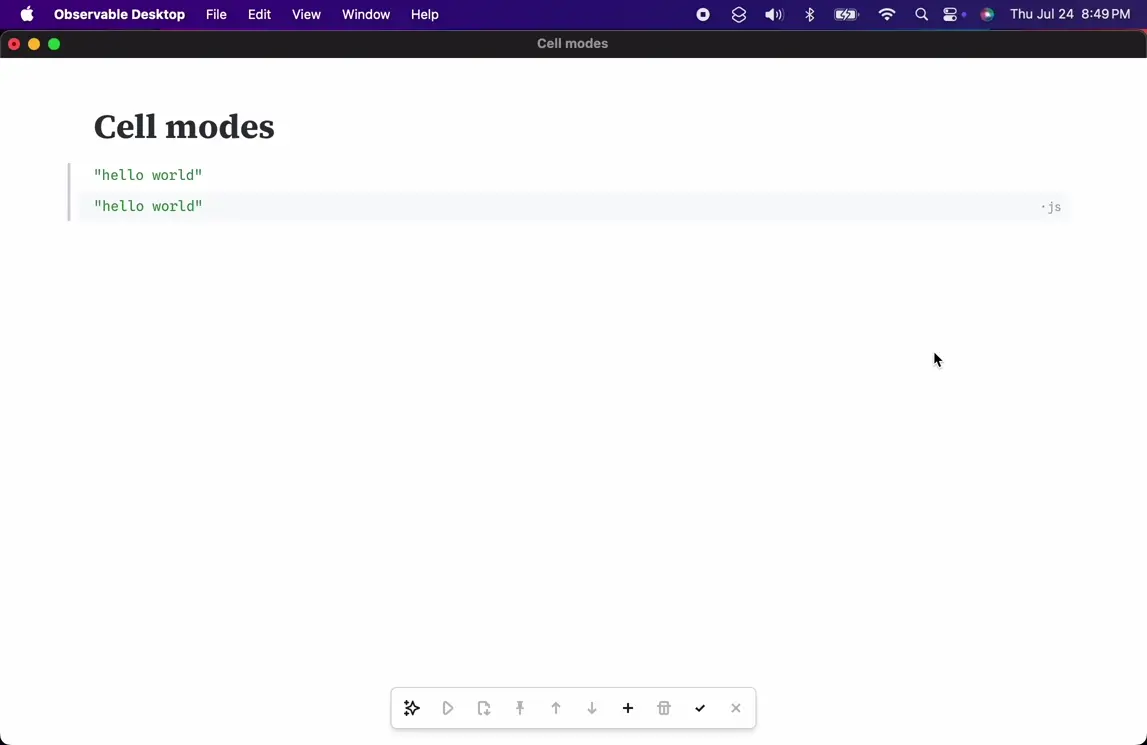
Cell modes
Cells can be written in JavaScript, Markdown, HTML, and several other languages. You can cycle between the primary modes when a cell is empty, or use the mode menu or edit menu to change the mode.
- Insert a new, empty cell.
- Change the cell mode with down ↓ or up ↑.

- Focus a cell, say by clicking on the editor.
- Change the cell mode to JavaScript with command-1 ⌘1.
- Change the cell mode to Markdown with command-2 ⌘2.
- Change the cell mode to HTML with command-3 ⌘3.
- Focus a cell, say by clicking on the editor.
- Change the cell mode using the mode menu.
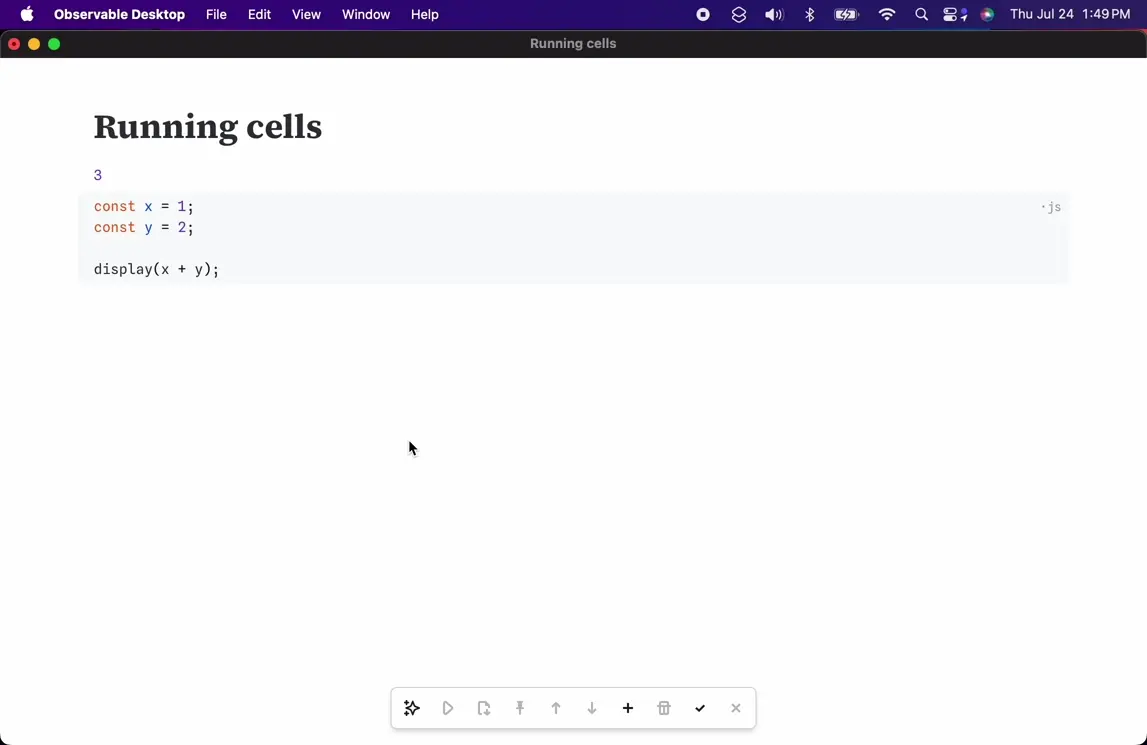
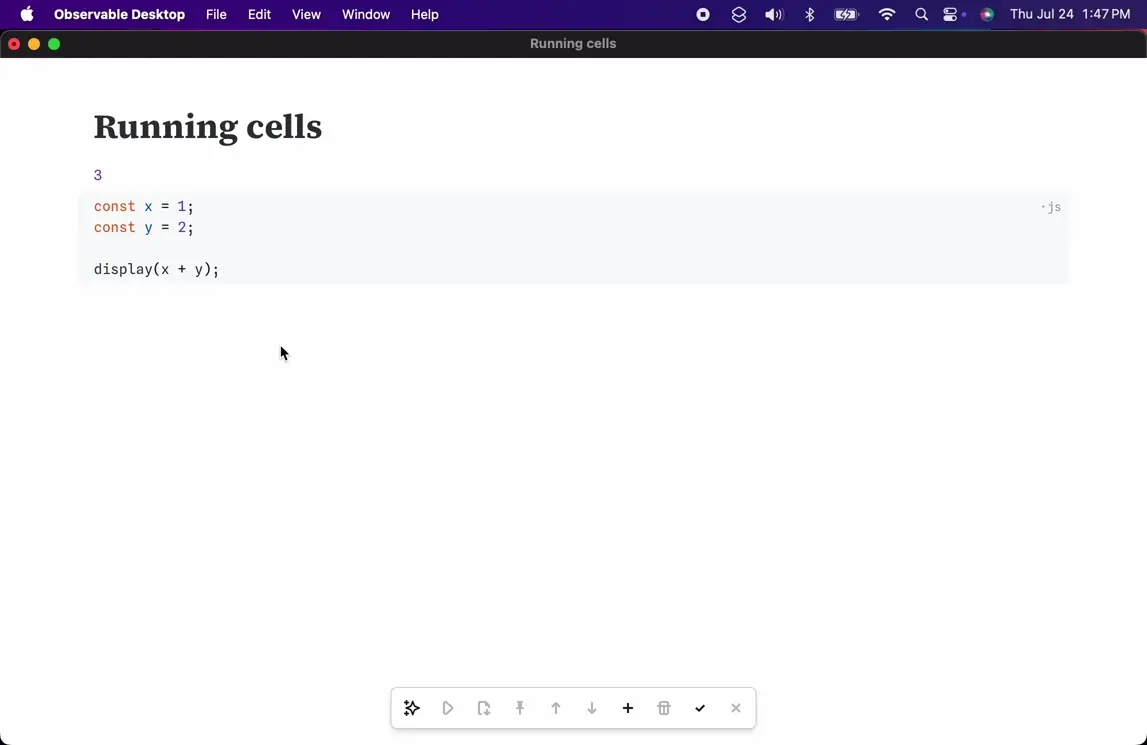
Running cells
You can run cells while editing. If you edit a cell, it will run automatically when blurred. When a cell has edits that have not yet been run (a “dirty” cell), the cell will have a dark blue border and the play button will be highlighted.
- Focus a cell, say by clicking the editor.
- Click the play button to run the cell.
- Focus a cell, say by clicking the editor.
- Run the cell with shift-enter ⇧↩︎.
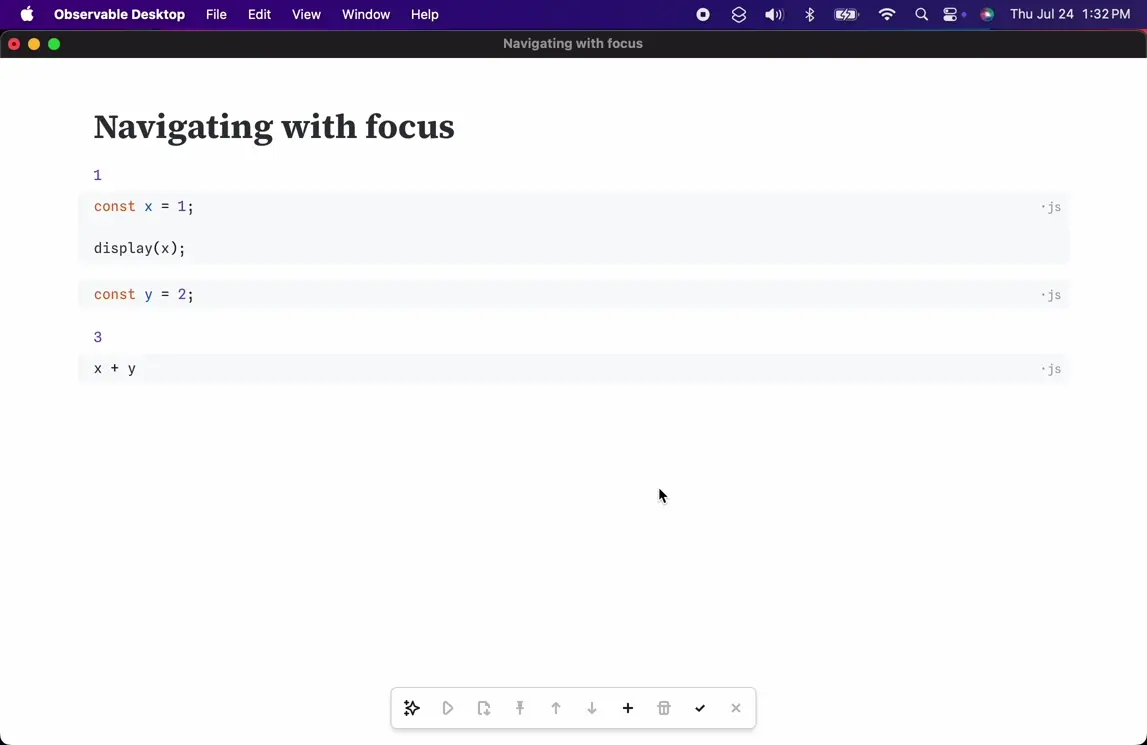
Navigating between cells
There are a variety of keyboard shortcuts for fast navigation between cells.
- Focus a cell, say by clicking the editor.
- Focus the cell below with option-tab ⌥⇥.
- Focus the cell above with shift-option-tab ⌥⇧⇥.
- Select a cell, say with enter ↩︎.
- Select the cell below with J.
- Select the cell above with K.
- Focus the cell with enter ↩︎.
Loading data
After saving a notebook, you can open a local file in the same folder using FileAttachment.

FileAttachment- Open a saved notebook, or save the current one.
- Insert a JavaScript cell.
- Call
FileAttachment, passing in the relative path to the file. - Call the appropriate method to load the data, such as
csv()orjson().
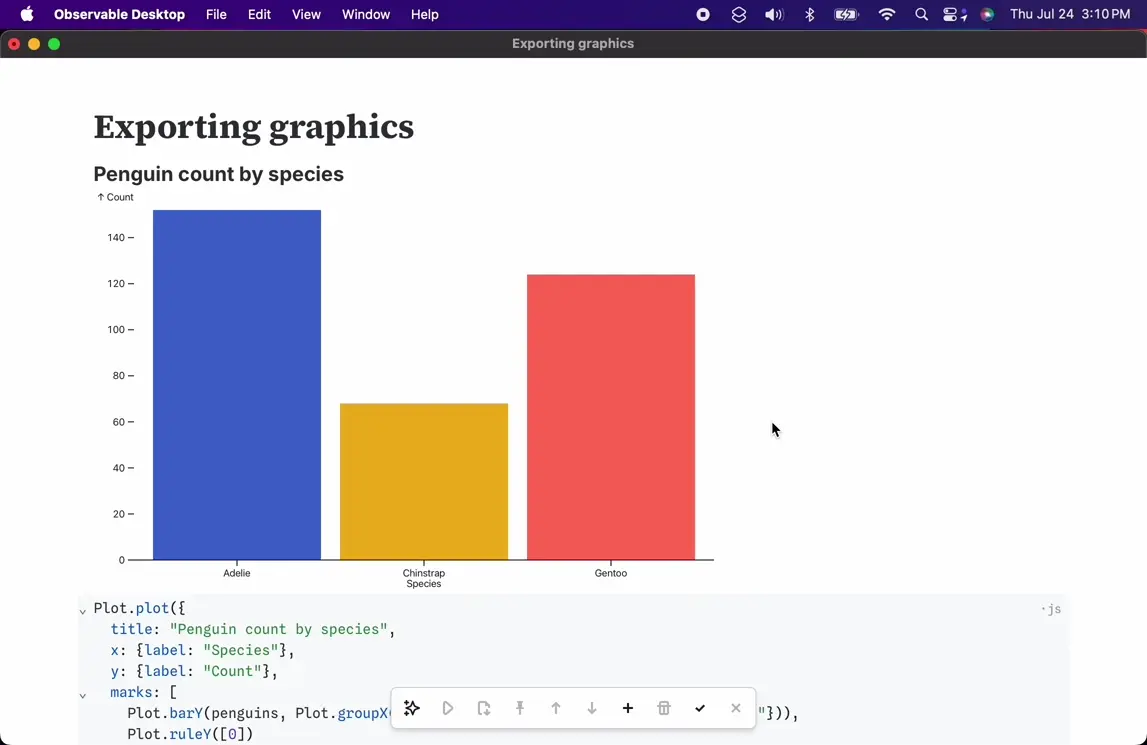
Exporting images
You can export graphics as SVG or PNG.
- Focus or select a cell.
- Click the export menu in the toolbar.
- Click Export PNG or Export SVG.
Next steps
If you’re comfortable with the Desktop editor and are ready to learn about authoring notebooks, please see the Notebooks system guide.