Building & deploying
Data appsDEPRECATED
Hosting data apps on Observable Cloud was deprecated on April 15, 2025. We encourage you to migrate to your preferred static site hosting provider. We will discontinue building and deploying of data apps to Observable Cloud on October 15, 2025. Read more →
Building your data app runs its data loaders and page loaders, often using secrets to access private data, and outputs static files and pages. Deploying your data app uploads those resulting static files (collectively, “the build”) to a server that hosts them so you can see your data app live on the web.
Building locally and deploying to the cloud
To connect your data app to Observable, deploy it from the command line:
npm run deployThis builds your app locally, so your data and page loaders run on your own machine, and then deploys it to Observable. Once deployed, you’ll see your app listed on Observable and can use all the other features of Observable Cloud. Learn more in the Observable Framework documentation.
Building and deploying in the cloud
INFO
Building in the cloud requires your app to be using Framework 1.9.0 or higher.
Once your data app is on Observable, you can set it up to build and deploy entirely in the cloud. Go to your app’s “Build settings” tab and connect to GitHub. You’ll have to give Observable permission to see your data app’s repository, and then link that repository to this data app. Learn more about connecting to GitHub.

Linking a repository enables three new ways to kick off building and deploying your data app in the cloud:
- Manually: Click the “Deploy” button in the top right of “Deploy status” in app settings.
- On commit: Every push to the configured branch of your repository starts a new deploy. You can disable automatic deploys under “Build settings”.
- On schedule: You can configure your app to build daily or weekly. Learn more about schedules.
Your build will run on a Docker container running Debian and a suite of useful command-line software; learn more about our default environment, running your own scripts, installing dependencies, and setting up an on-premises environment.
Status and logs
You can view the status of a data app’s latest deploy on its app settings page. When a deploy is ongoing, a progress bar in the “Deploy status” section shows live updates as the deploy progresses.

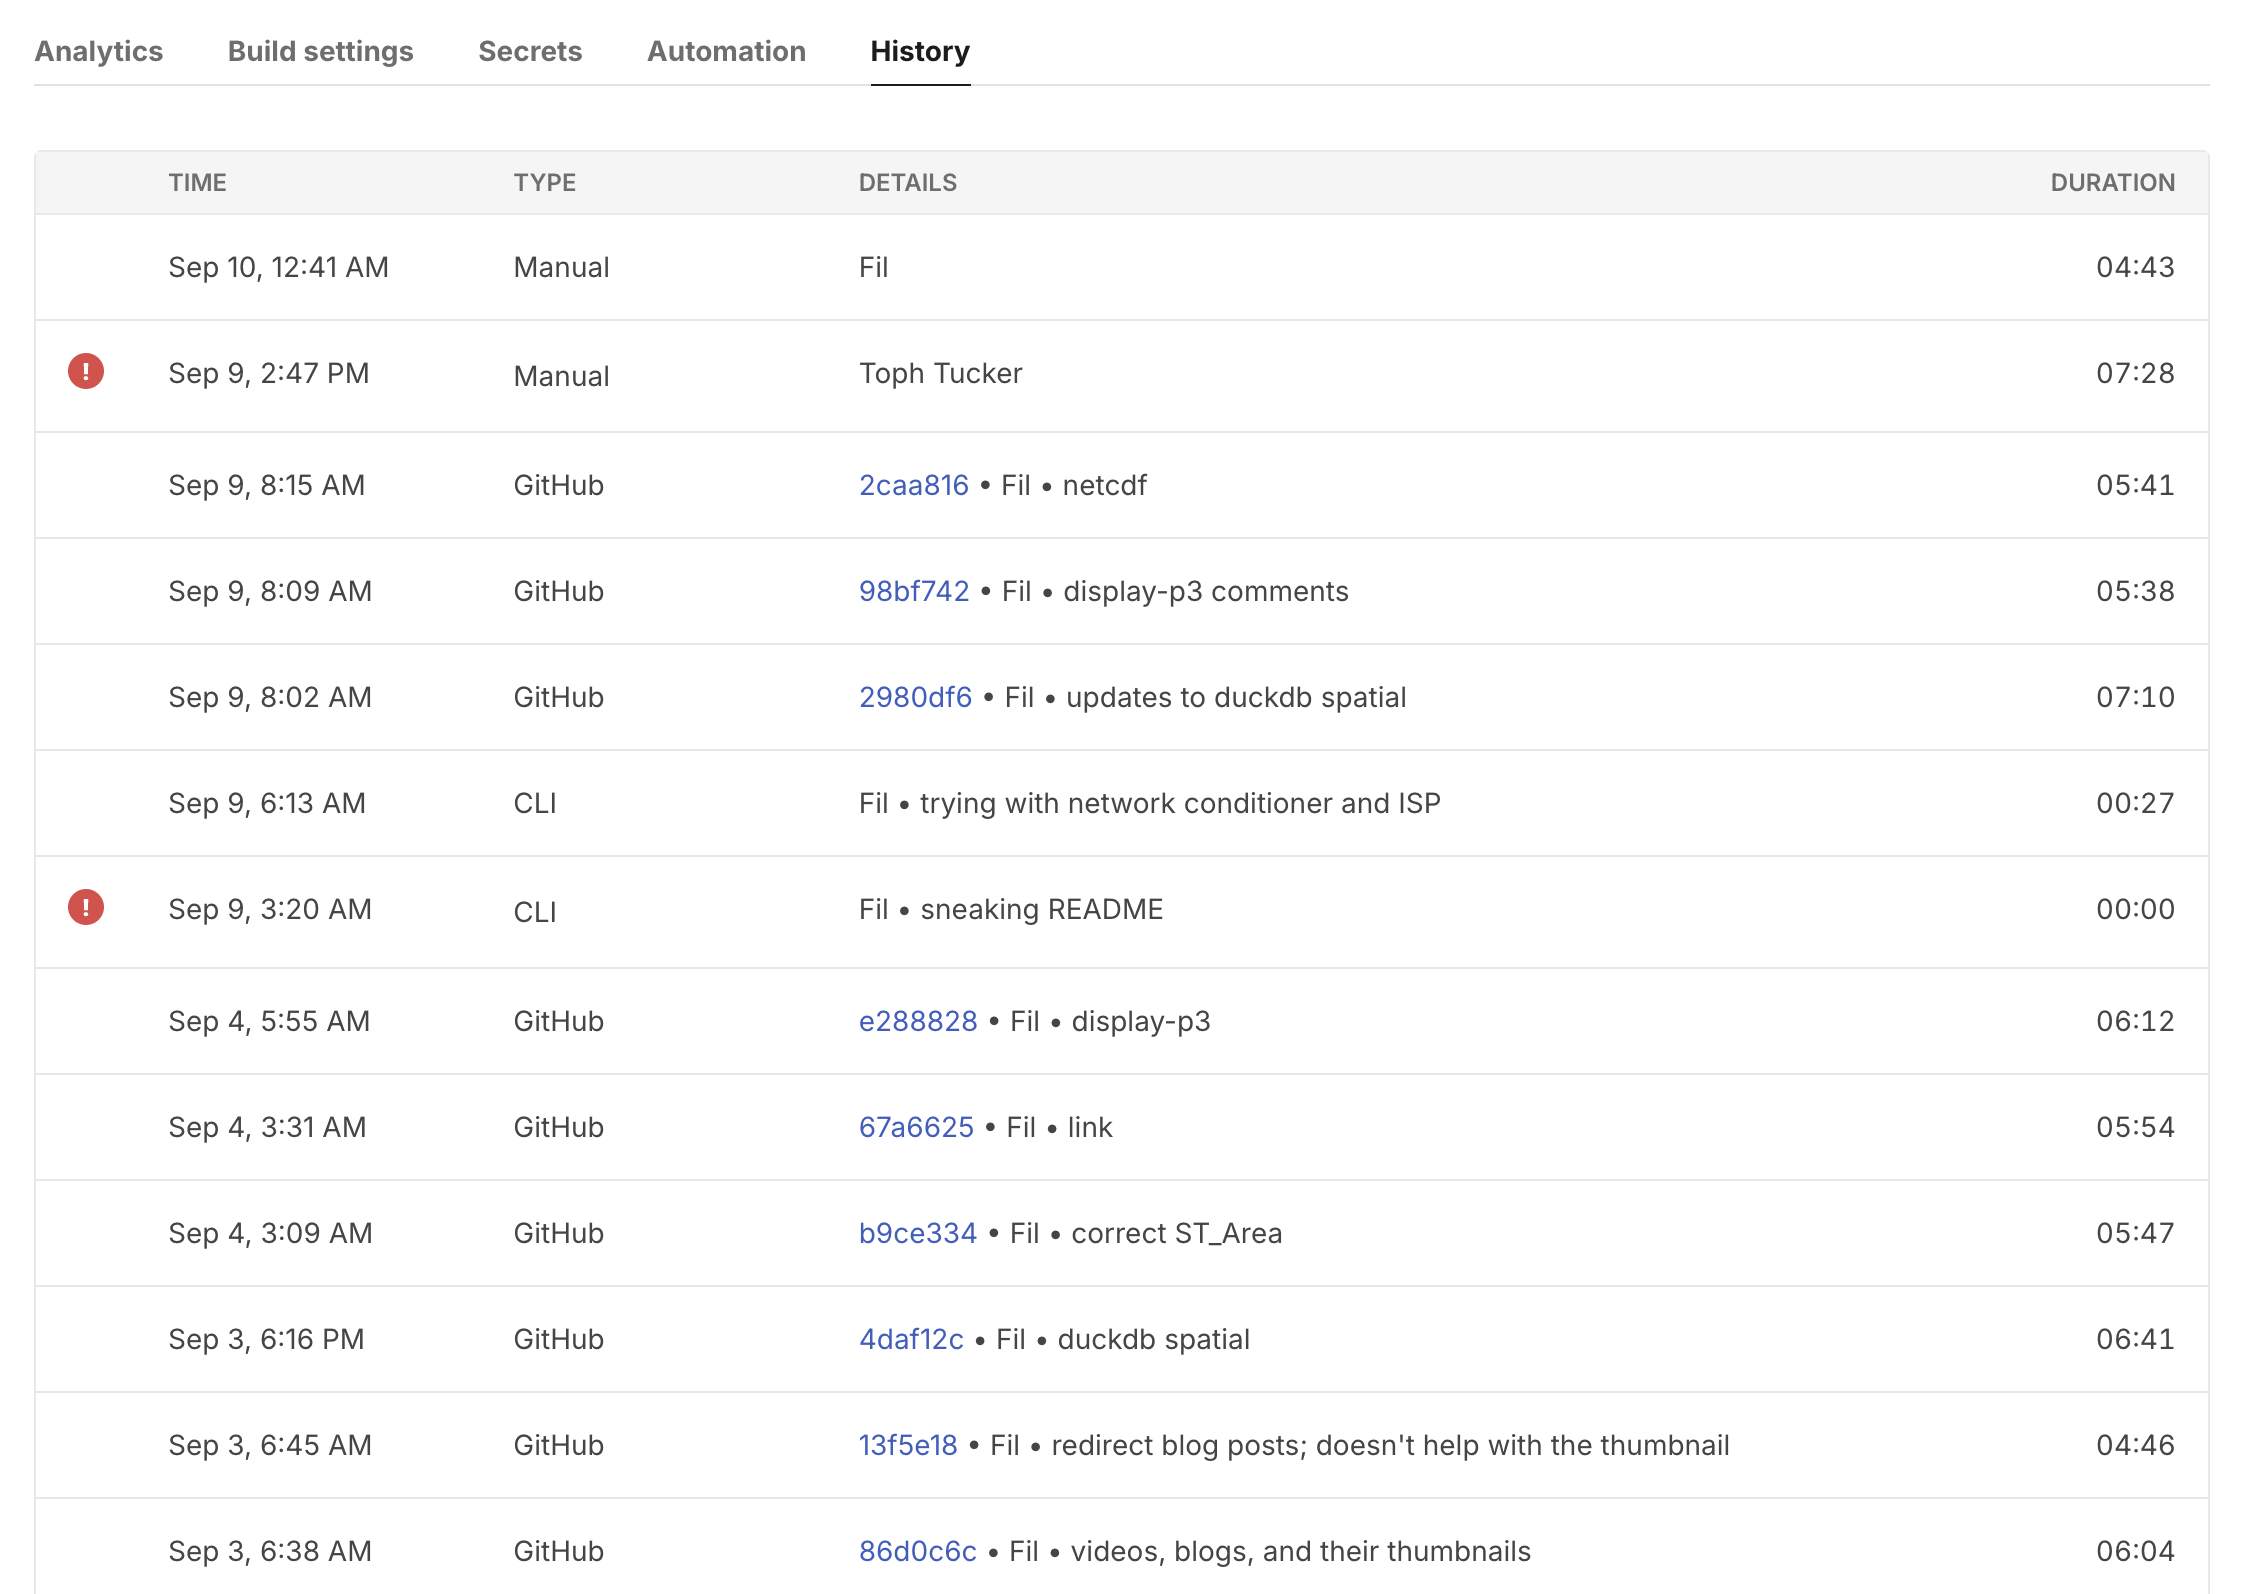
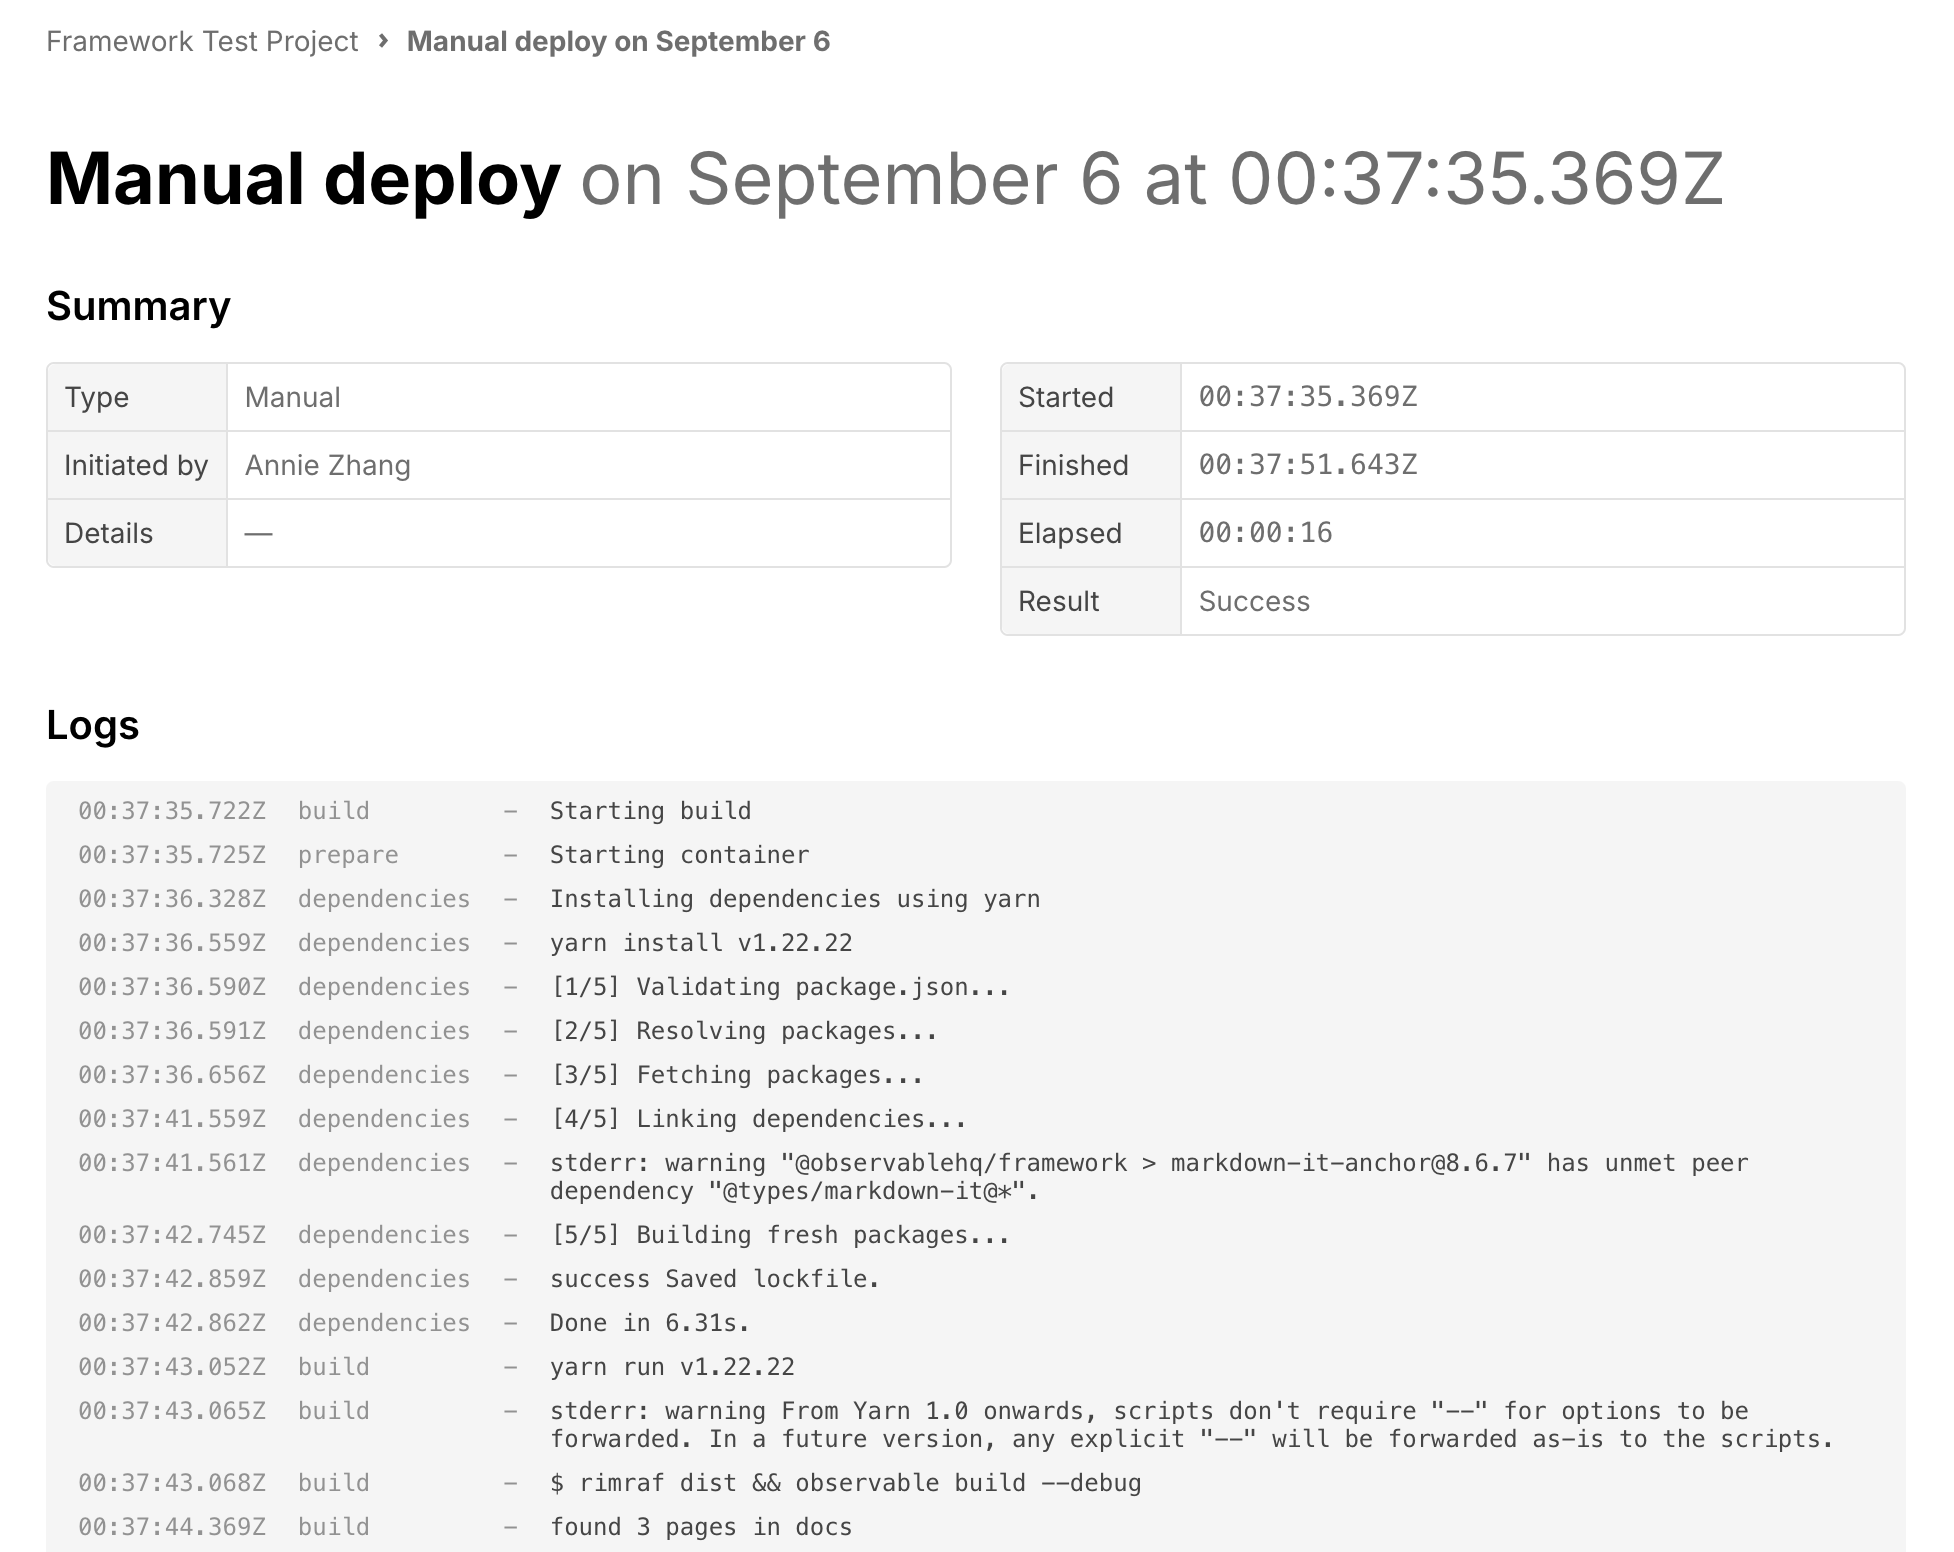
You can view logs from a deploy by clicking on “View logs” on the latest deploy, or by navigating to the “History” tab and clicking on a previous deploy. The “History” tab lists a data app’s deploys from the past 30 days.

The deploy logs page shows all of the logs that were emitted from a particular deploy, with sensitive information redacted.

Custom domains
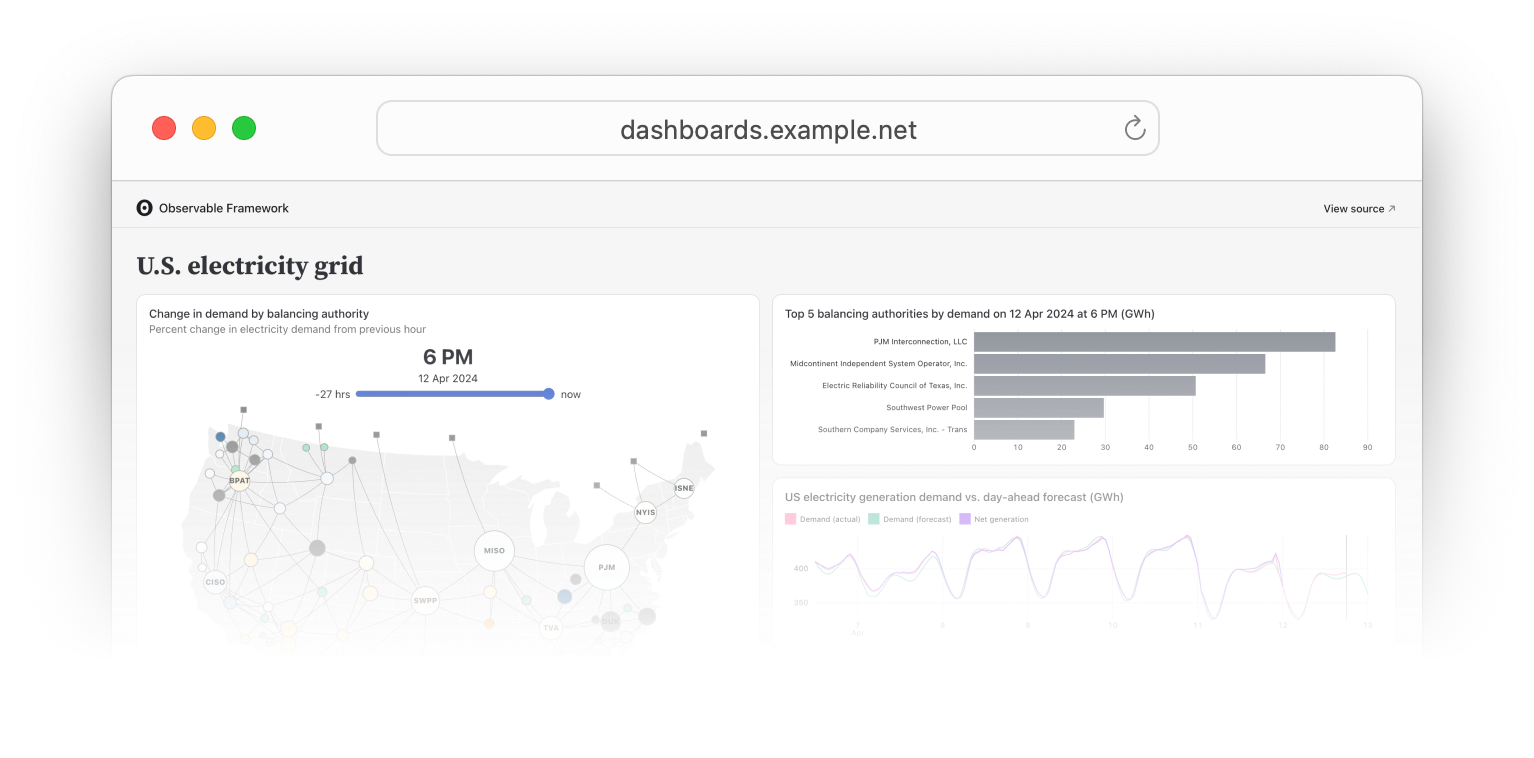
EnterpriseLearn more about EnterpriseEnterprise customers can serve their projects from custom domains, e.g., https://dashboards.example.net or https://example.net instead of https://example-net.observablehq.cloud/dashboard. While each app requires a unique domain, customers can use multiple subdomains with no limit.
Customers will need to be able to administer DNS records for the domain they want to use. The process involves creating a CNAME record pointing to Observable’s servers and a TXT record to verify ownership. Once verified, traffic will be routed to the customer’s data app. TLS certificates are automatically provisioned and renewed for custom domains.
Contact support@observablehq.com to get set up.
