

Schedules
Data appsDEPRECATED
Hosting data apps on Observable Cloud was deprecated on April 15, 2025. We encourage you to migrate to your preferred static site hosting provider. We will discontinue building and deploying of data apps to Observable Cloud on October 15, 2025. Read more →
With schedules, you can configure your data app to build and deploy at a regular cadence, ensuring that the data powering your application stays fresh. You can configure up to one schedule per data app.
You must have a GitHub repository linked to your data app in order to set up scheduled deploys. If you haven’t done that yet, see the GitHub documentation for instructions.
Configuring a schedule
To configure a schedule, create a file named observablehq.cloud.yaml in the root directory of your local Framework project. In that file, specify the type of schedule you want; you may choose from a set of Observable’s predefined schedules, or you may define your own custom schedule.
Predefined schedules
Observable offers a small set of predefined schedules.
| Schedule | Timing |
|---|---|
| hourly | Around :00 |
| daily | Around 11 AM UTC (6 AM EST / 3 AM PST) |
| weekly | Monday around 11 AM UTC |
To set a daily schedule, for example, write:
schedule: dailyCustom schedules
If you’d like to define your own custom schedule, you can use a cron expression. Make sure to wrap the expression in single or double quotes.
Use the following format to define your cron expressions (all times are in UTC):
*    *    *    *    *
┬    ┬    ┬    ┬    ┬
│    │    │    │    |
│    │    │    │    └ day of week (0 - 7) (both 0 and 7 mean Sunday)
│    │    │    └───── month (1 - 12)
│    │    └────────── day of month (1 - 31)
│    └─────────────── hour (0 - 23)
└──────────────────── minute (0 - 59)
To set a schedule for Wednesdays at 9 AM, for example, write:
schedule: '0 9 * * 3'Saving a schedule
When you’ve defined your schedule, commit the file and push it up to your GitHub repository.
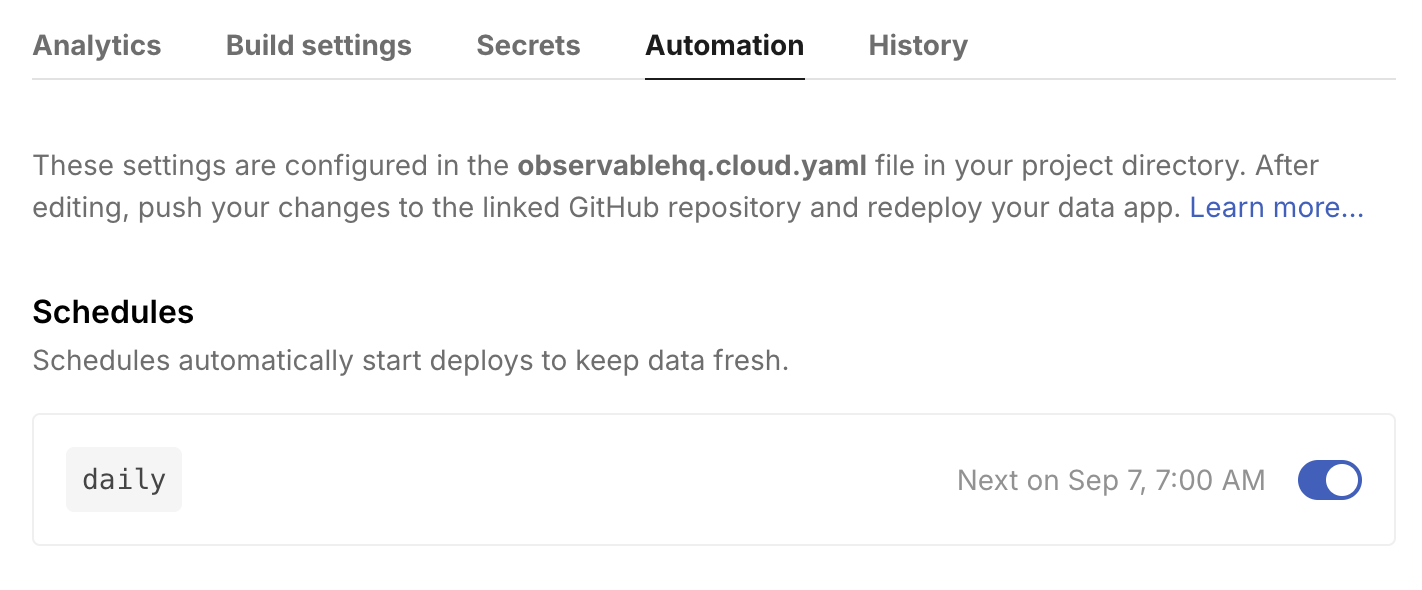
Once your schedule configuration has been saved, you should see the schedule in the Automation tab on your app settings page, along with a timestamp showing the time of the next scheduled build.
You can change the schedule at any time by updating observablehq.cloud.yaml in your Framework project and pushing up your changes.
TIP
Data apps may use two configuration files: observablehq.config.js configures the contents and appearance of your Observable Framework app, and observablehq.cloud.yaml configures how Observable Cloud builds and serves it.
Pausing a schedule
If at any point you want to pause a schedule, you can do so by clicking the toggle to the right of the schedule in the Automation tab. Toggle it again to unpause the schedule.