Custom SSO
EnterpriseLearn more about Enterprise“Single Sign-On” or SSO is the term used to describe the process where a user’s identity is authenticated by an identity provider service for use with multiple applications. With SSO, users can have a single user name and password that works across all of the applications they use. Observable supports SSO using external identity provider services with built-in support for Google, GitHub, and Microsoft identity providers. Custom SSO is a feature available to Observable Enterprise teams that allows them to associate their logins with their own additional identity provider service, like Okta Identity Cloud or OneLogin, using the standard OpenID Connect (OIDC) protocol.
Requirements
Observable supports the OpenID Connect (OIDC) protocol for custom SSO. OpenID Connect is a modern replacement for the older SAML protocol which is not supported.
Setting up Custom SSO
There are two steps in setting up Custom SSO for Observable. The first step is to define and verify your identity domain. An identity domain is usually an organization’s email domain, which is the part after the “@” in a user’s email address. For example, if a user had an SSO login like alice@thecompany.com, the identity domain would be thecompany.com. Verifying an identity domain associates control over that domain with the owners of an Observable team. Once the identity domain is verified, the second step of setting the OpenID Connect (OIDC) parameters can be done. This requires registering Observable as an application with the identity provider which will then generate a set of parameters that are then entered in the Observable Custom SSO settings.
Defining an Identity Domain
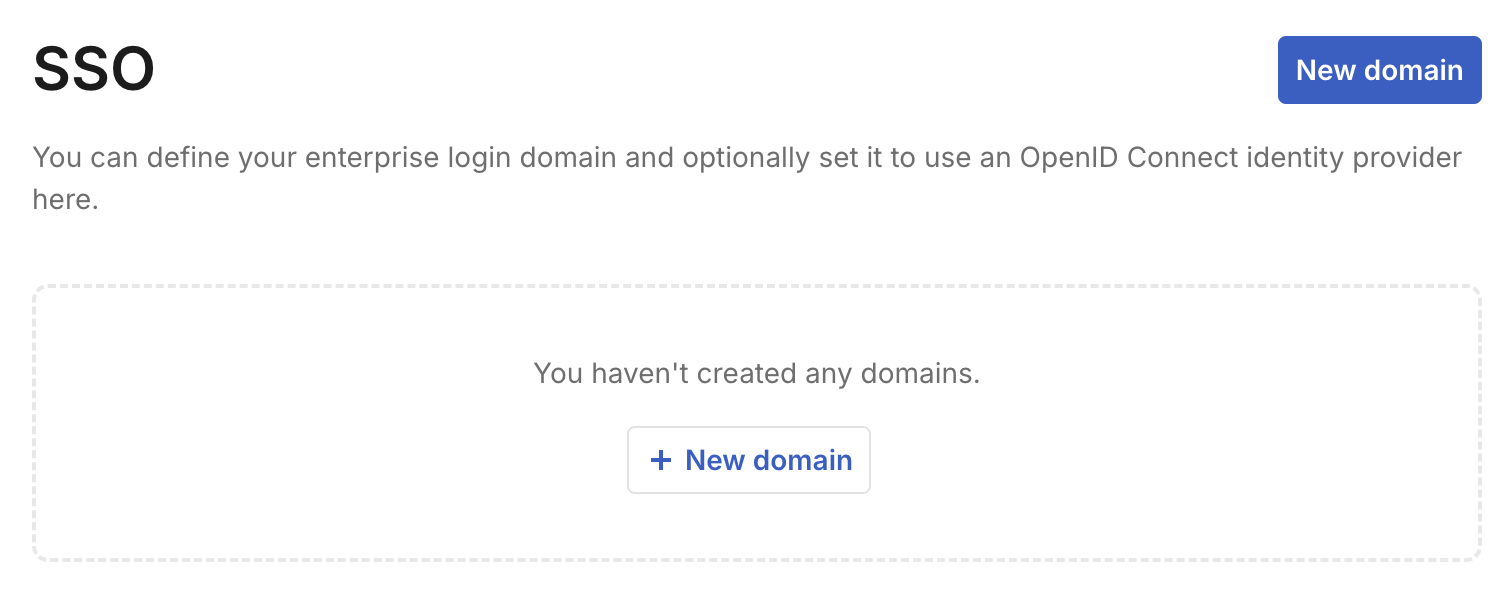
Enterprise team owners can define an identity domain by navigating to the SSO section in the team settings page. The SSO settings initially looks like this:

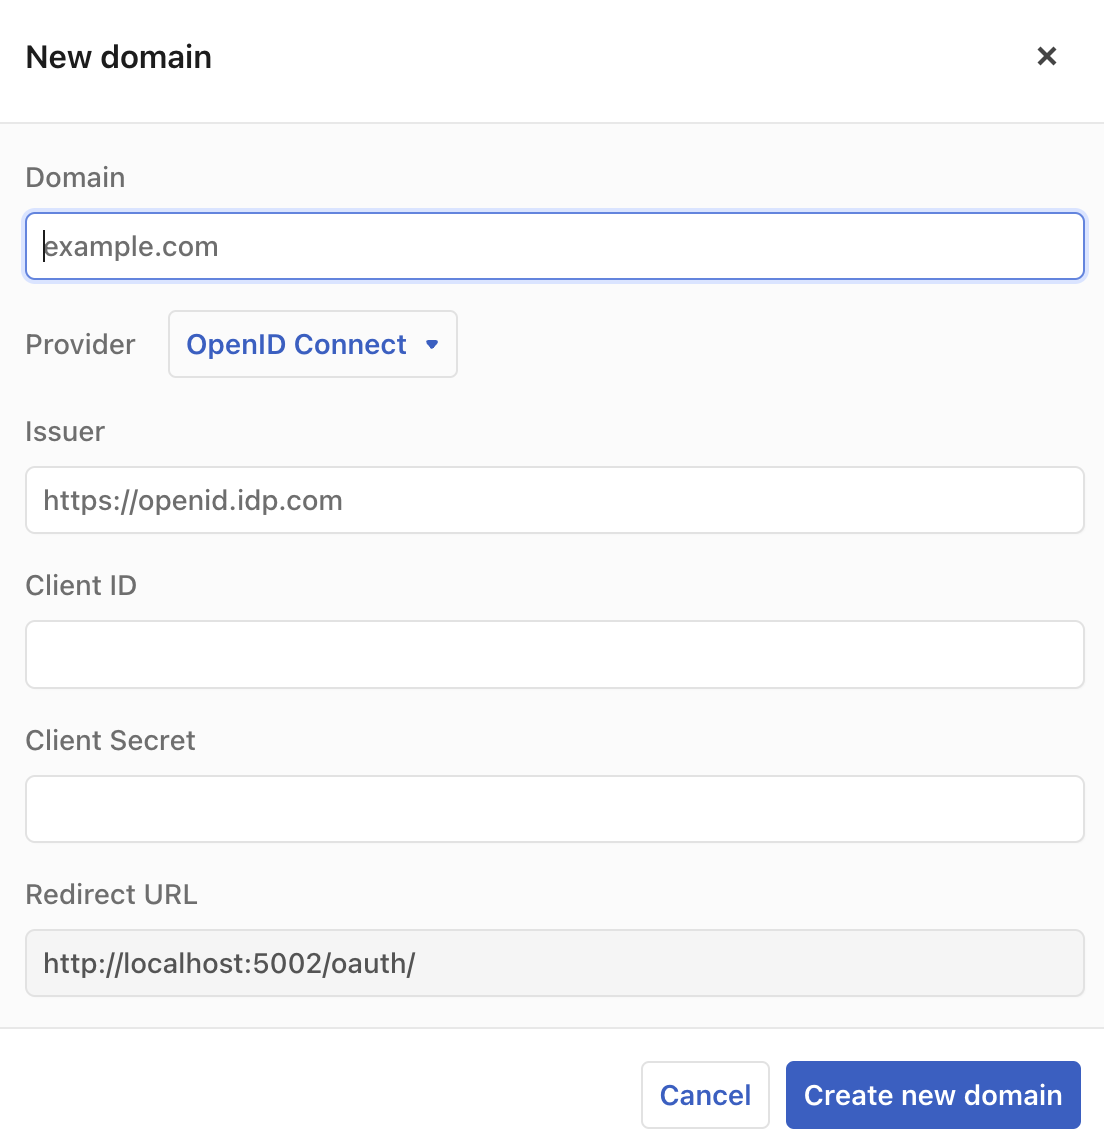
Choose New domain to define an identity domain to be owned by the team. This will open the identity settings panel.

Domain
Enter your organization’s identity domain, which is normally the internet domain name portion of your user’s email address, the part after the “@”, like “mycompany.com”.
Provider
Use the Provider selection to choose what kind of identity provider your domain uses. The options are “Google”, “Microsoft”, and “OpenID Connect”. Pick “OpenID Connect” if you use a custom identity provider other than the ones that are pre-defined.
Issuer, Client ID, and Client Secret
The Issuer, Client ID, and Client Secret fields specify the values that are required for Observable to use an OpenID Connect (OIDC) provider. The Issuer is the base Url of the provider’s authentication service. The Client ID and Client Secret values come from the provider’s administration UI when you add a new application. In addition to these values, the Redirect URL shown at the bottom of this form needs to be entered into the provider’s system as part of the definition of this integration.
Create new domain
When the form is complete, click the Create new domain button. The system will then create a provisional definition of the identity domain.
Verification
After a provisional identity domain is defined, it needs to be verified by Observable before it can be used. This is done by contacting Observable support.
Once the domain has been verified, the OpenID Connect values also need to be verified. This can be done through the Authentication Settings page by clicking on the check-mark in the identity domains listing. OpenID Connect verification consists of having you login to your account on the domain. Once this completes successfully, other users can sign up for Observable using their SSO identity.