

Markdown cell
NotebooksObservable notebooks are great for telling compelling stories with data, but to do that well you need more than beautiful visualizations! You’ll also want text, lists, and other text elements to help add context, explanations, and structure. This short guide gives you an introduction to Markdown text in Observable.
Add a Markdown cell
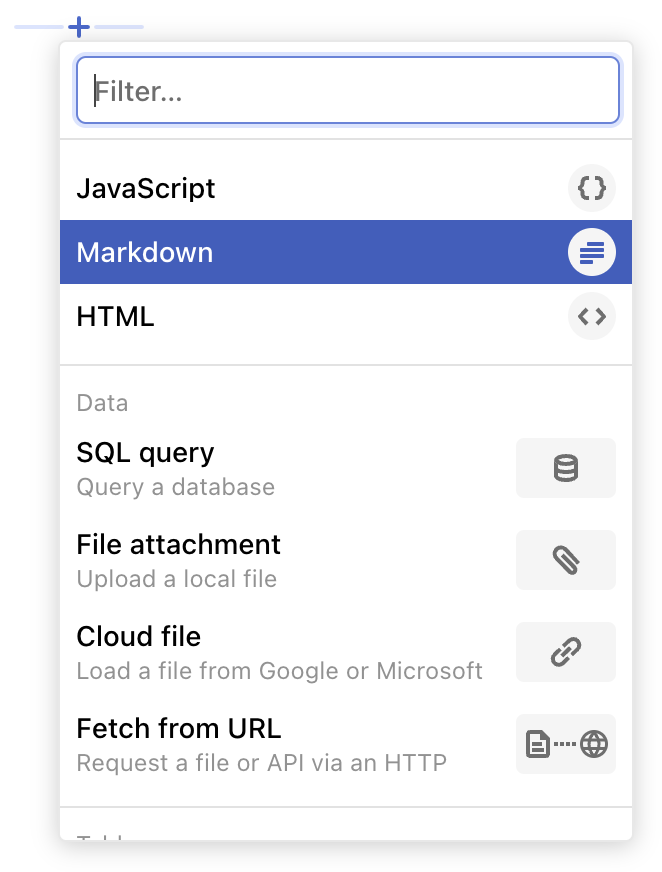
To create a new Markdown cell, click the + above or below a cell to open the add cell menu and select Markdown.
Basic formatting
Basic text formatting includes italics, bold, and strikethrough.
To put a word or series of words in italics, wrap the word or series of words in asterisks (*):
*italics*
To put a word or series of words in bold, wrap the word or series of words in double-asterisks (**):
**bold**
To strikethrough a word or series of words, wrap the word or series of words in double-tildes (~~):
~~strikethrough~~
To make a horizontal divider across the page, use three hyphens in a row, (—), on their own line:
---Lists
Unordered lists
Here is an example of an unordered list in a text cell:
- Item 1
  - Sub-item 1
    - Sub-sub-item 1
    - Sub-sub-item 2
- Item 2
- Item 3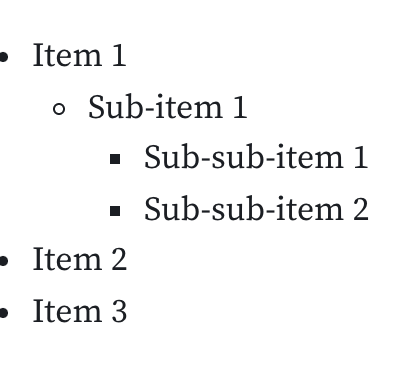
As seen here, it is created using a series of dashes, one dash in the first space of each line signifying one item of the list followed by the item’s name, with sub-items being created by indenting dashes one space in on the lines below their parent item’s line, each signifying a sub-item on the list. You continue this pattern to nest further items such as sub-sub-items.
Ordered lists
Here is an example of an ordered list in a text cell:
1. Item 1
  1. Sub-item 1
    1. Sub-sub-item 1
    2. Sub-sub-item 2
2. Item 2
3. Item 3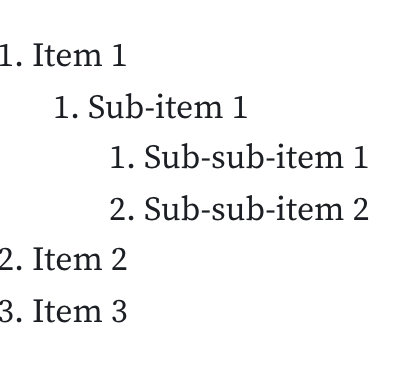
As seen in the screenshot above, ordered lists are created just like unordered lists except that instead of using dashes for each item you instead use numerals (followed by the name of the item) starting at 1 and increasing +1 for each item at that nesting level.
Headings
Headings in Markdown and Observable text cells are created by placing pound symbols, (#), in front of the name of the intended heading—one pound symbol for each level of heading you wish to render:
# Heading 1

## Heading 2

### Heading 3

#### Heading 4

##### Heading 5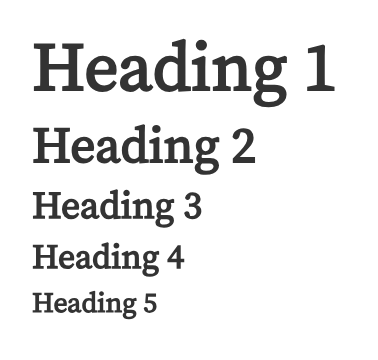
Block Quotes
Block quotes are created using the > symbol at the beginning for each line, with the quote wrapped in quotation marks (“”). Skipping the line after the quotation, the last part of the block quote is created by using the hyphen, - followed by the name of the person responsible for originally saying the quote:
> "Above all else show the data."
>
> — Edward Tufte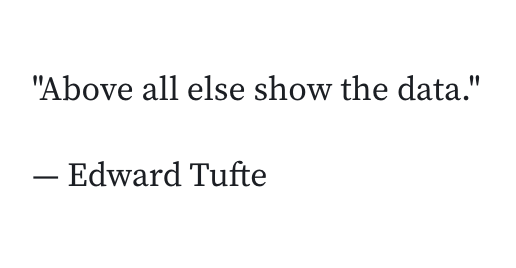
Links
URLs automatically turn into links, but you can also add links to text by wrapping the text in brackets, [], immediately followed by the URL in parentheses, ():
[Observable](https://observablehq.com)
Images
Images in Markdown
You can add a Markdown image using similar syntax to a link (though prepended with a !). Remember to use the await keyword to allow the file attachment to load.
.url()}).url()}). In the presentation section, the image is shown to be the Observable logo and title, 'Observable' in Observable's font.](/documentation/assets/markdownImage.D3ODOSjo.png)
Displaying code
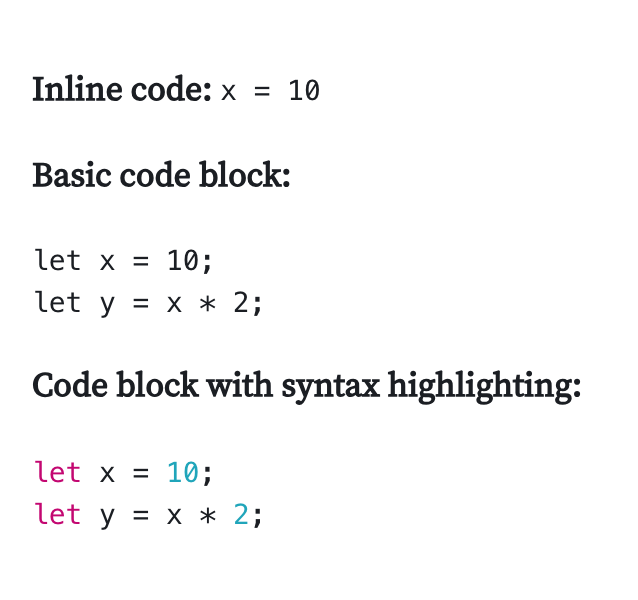
You can display code in a text cell inline by wrapping the intended code in backticks (``). To make a codeblock, put the code in between two lines, each with three backticks. To add syntax highlighting, add the name of the language after the first three backticks:
Adding dynamic values
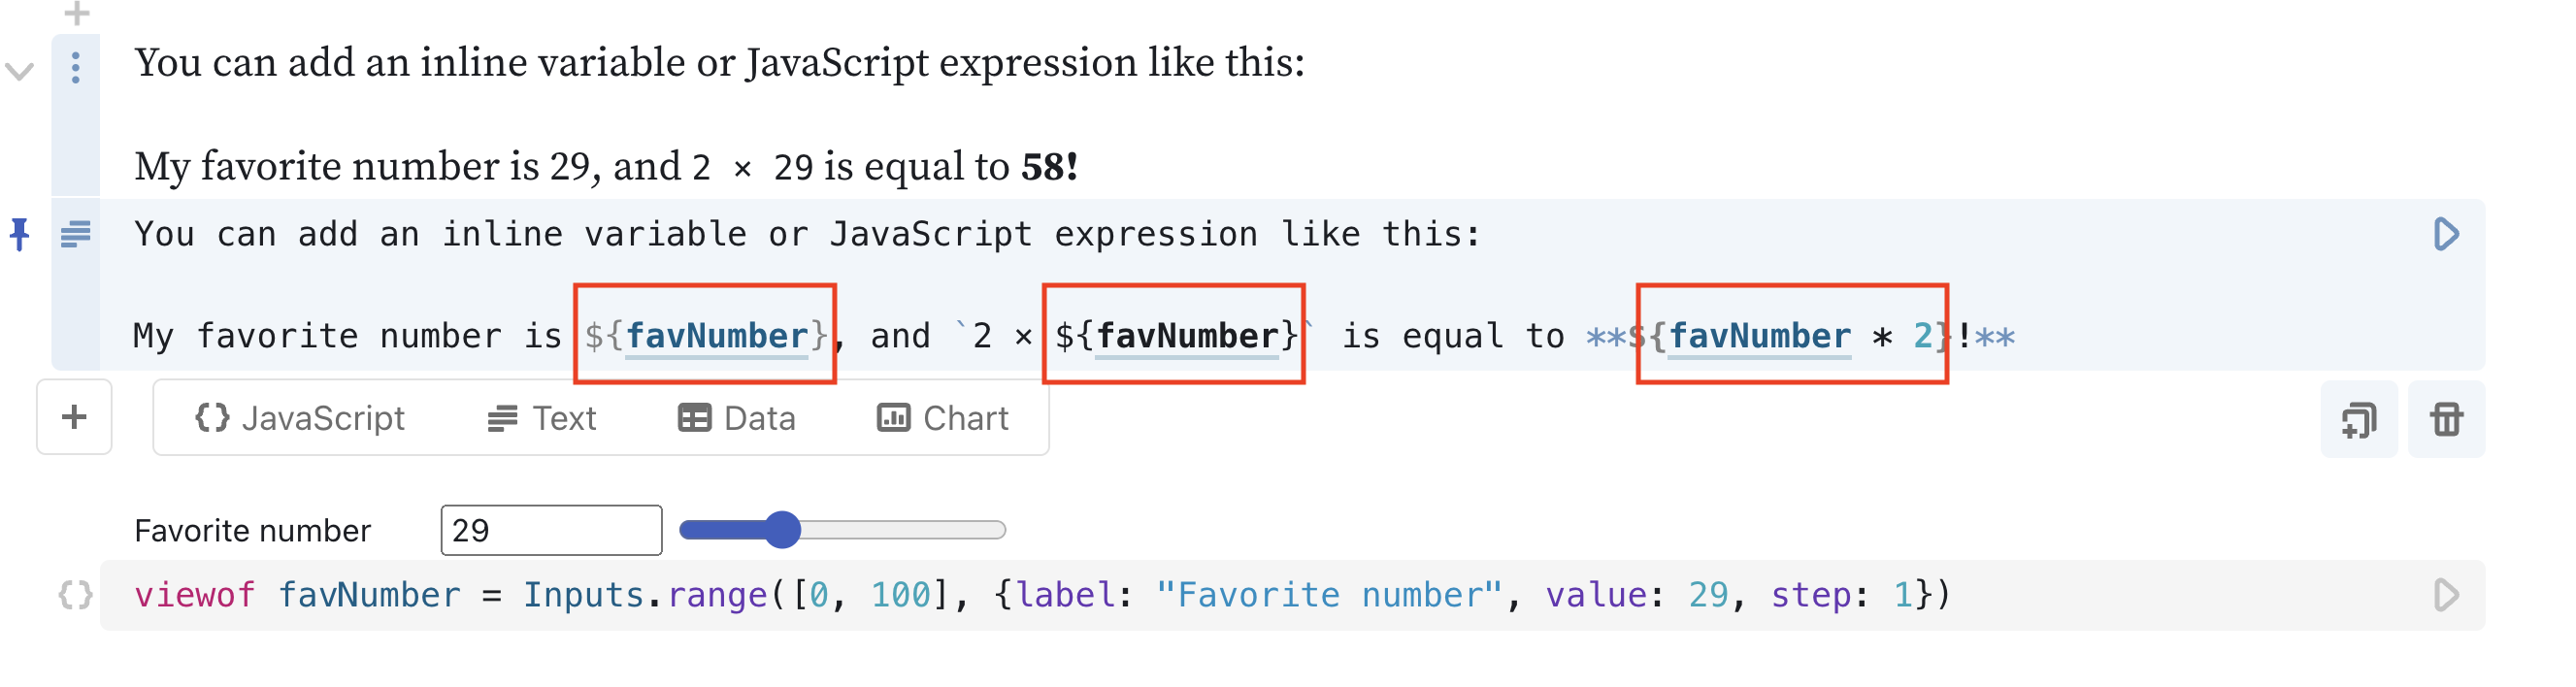
If you have JavaScript variable you would like to access in Markdown from a text cell, you would call the variable inline by wrapping the variable name in curly braces ({}) preceded by the $ symbol. For instance, if you had the variable favNumber, you would use this code:
${favNumber}inline as seen here:
Tables
A basic table
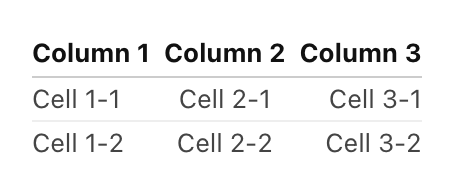
The following Markdown code in this format:
Column 1 | Column 2 | Column 3
-------- | -------- | --------
Cell 1-1 | Cell 2-1 | Cell 3-1
Cell 1-2 | Cell 2-2 | Cell 3-2
can be used to create a basic table:
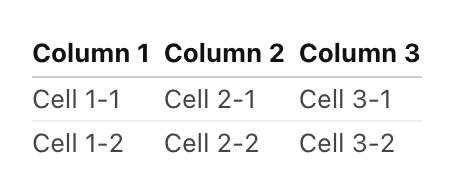
Table with text alignment options
Markdown code in this format:
Column 1 | Column 2 | Column 3
   :--   |    :-:   |    --:
Cell 1-1 | Cell 2-1 | Cell 3-1
Cell 1-2 | Cell 2-2 | Cell 3-2
renders a text-aligned table in a text cell:
Tables as explanatory text
The following Markdown code in this format:
|Note: Tables aren't just for tables|
| --- |--- | --- |
|For example, by having a header and one cell we can write a side note with a title and some explanatory text.|
renders a helpful way to add a side-note-like visual aide to your text:
