Set up a workspace
Creating a workspace
Starter workspaces
Here are the steps to create a free Starter workspace from the create your workspace page:
For your avatar, click randomize to select from the choice of colored circles, or click Upload new to upload a custom image.
Enter the Display name for your workspace.
Enter the Workspace URL (this will go to your workspace’s home page, which displays notebooks, collections, and more).
Click Starter to choose a starter workspace.
Click Continue.
Pro workspaces
If you want to collaborate with others in notebooks or deploy multiple Framework data apps, you will need a Pro workspace (see our Pricing page). Here are the steps to do that from the create your workspace page.
As with the Starter workspace, select an Avatar and enter the Workspace name.
Enter the Workspace URL (this will go to your workspace’s home page, which displays projects, notebooks, collections, and more).
Click Pro and choose whether you want an annual or monthly subscription.
Then click Continue to billing which will take you to the Enter payment details page to enter your payment information. By default, you are signed up for a 30-day free trial.
- We use Stripe for payment processing and accept credit cards and Apple Pay currently.
- Click Start trial. Your workspace is created and you are taken to the Settings page for your workspace.
Invite workspace members by entering each email address or Observable username. See the Team page for detailed instructions.
On the workspace settings page, you can configure your workspace’s profile picture and various other configurations as described in Settings.
Enterprise workspaces
To sign up for an Enterprise workspace, please select the ‘contact sales’ link. See our Pricing page for a list of differences between Enterprise and Pro workspaces.
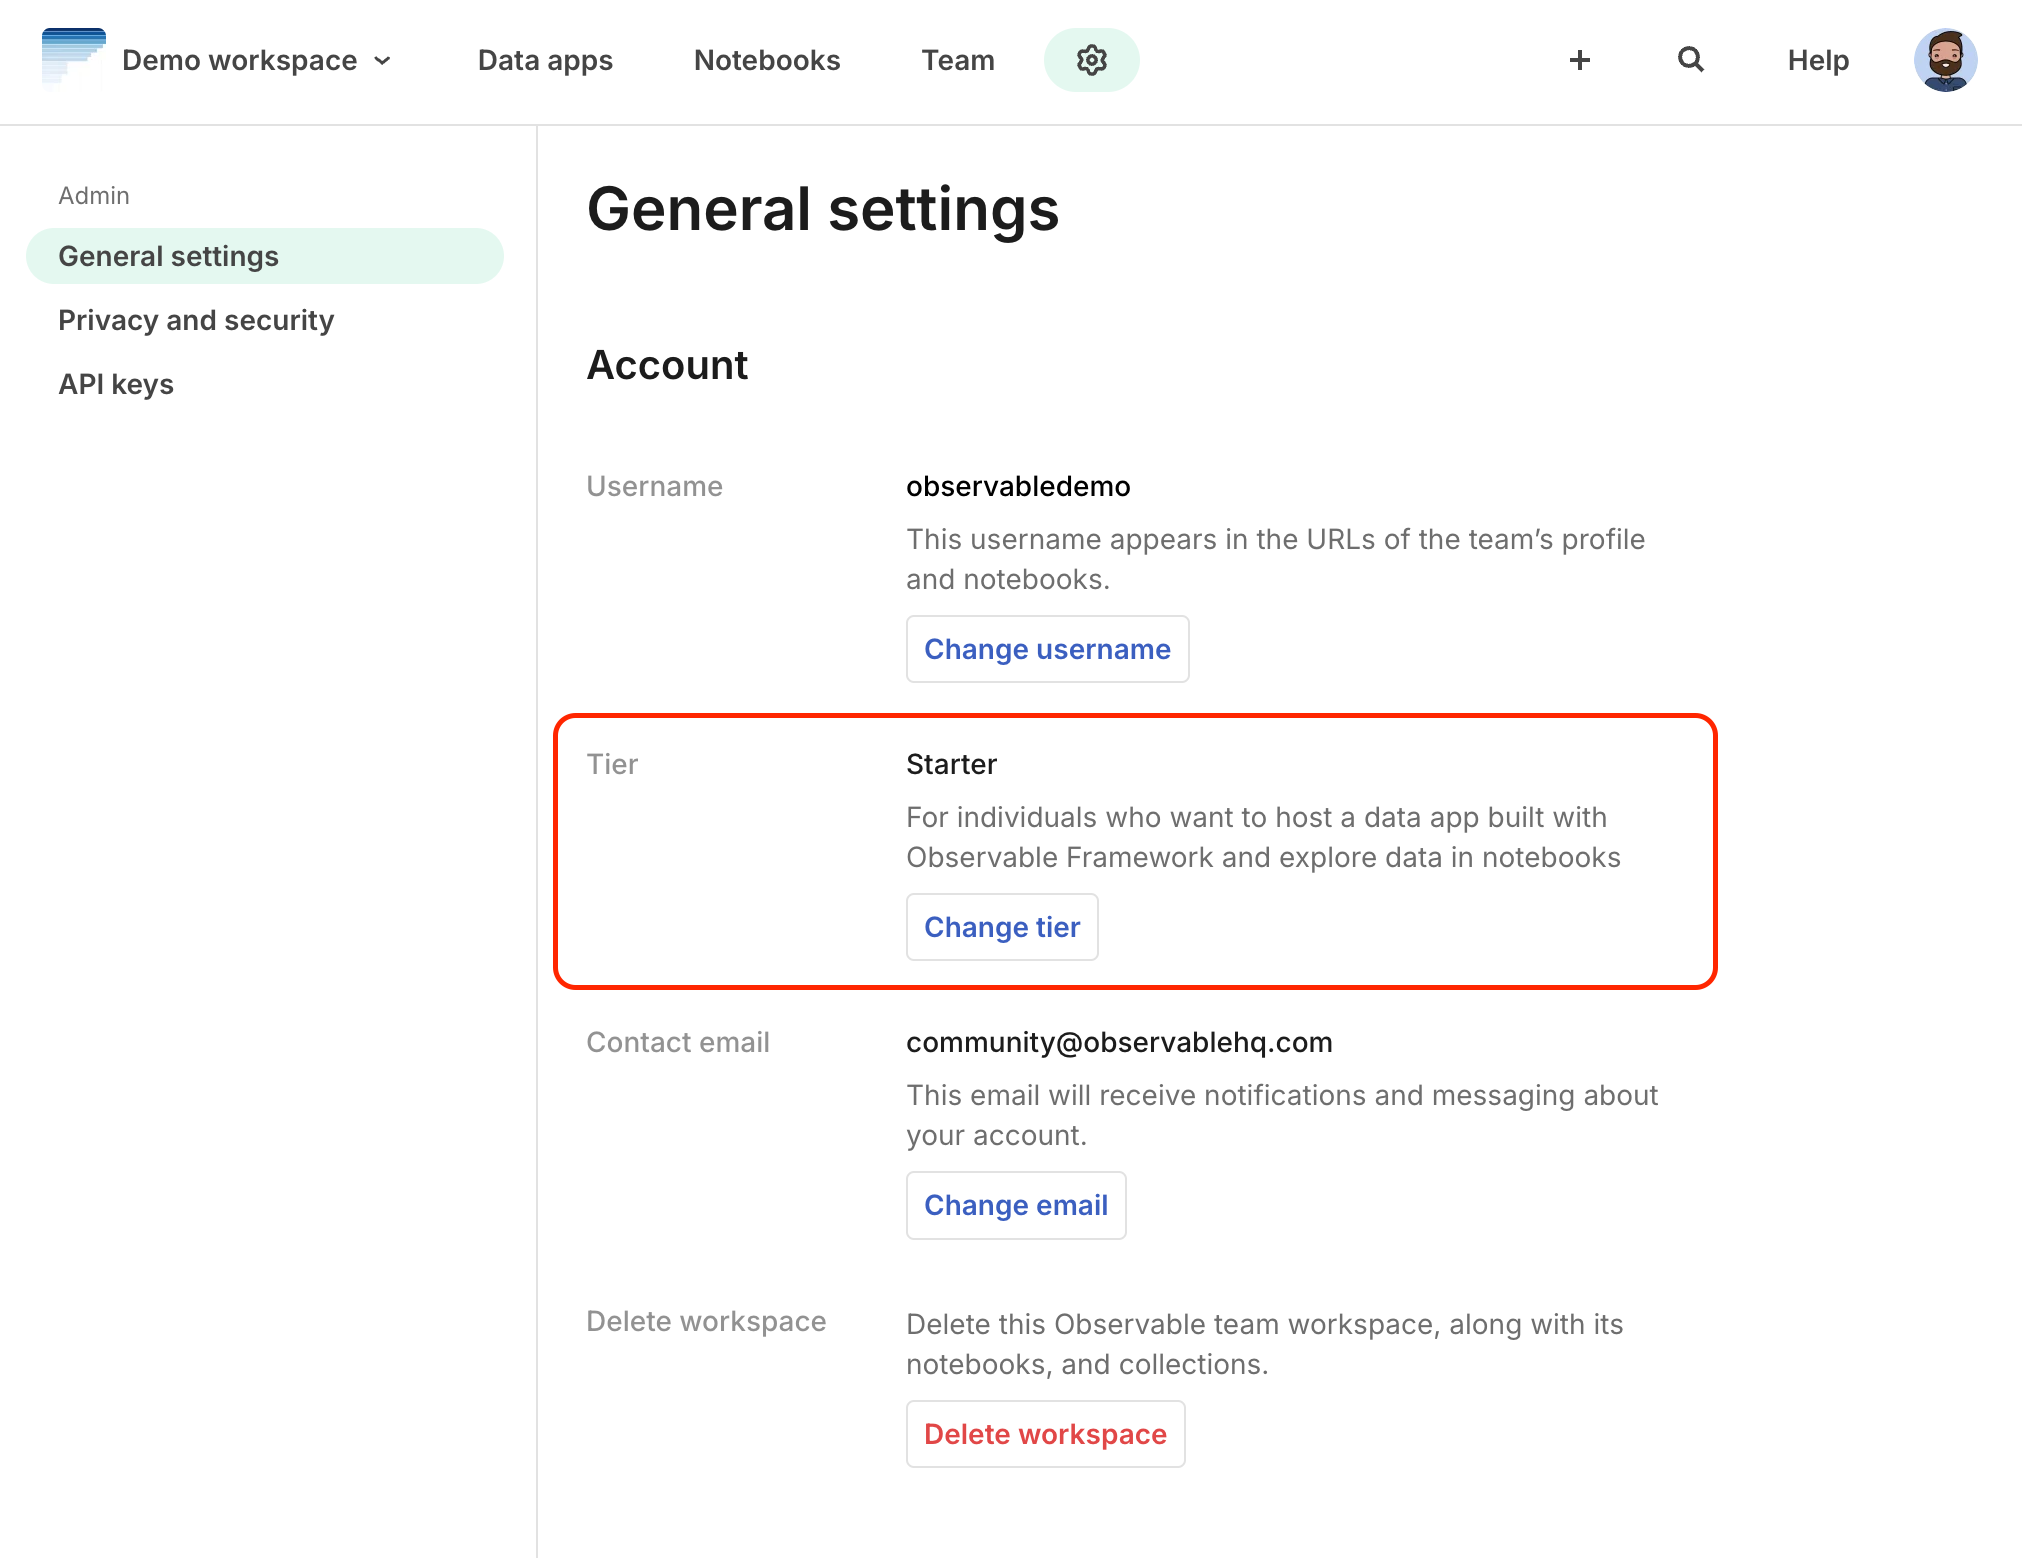
Changing tiers
Owners can change the tier or billing period by going to Settings > General, and clicking Change tier: