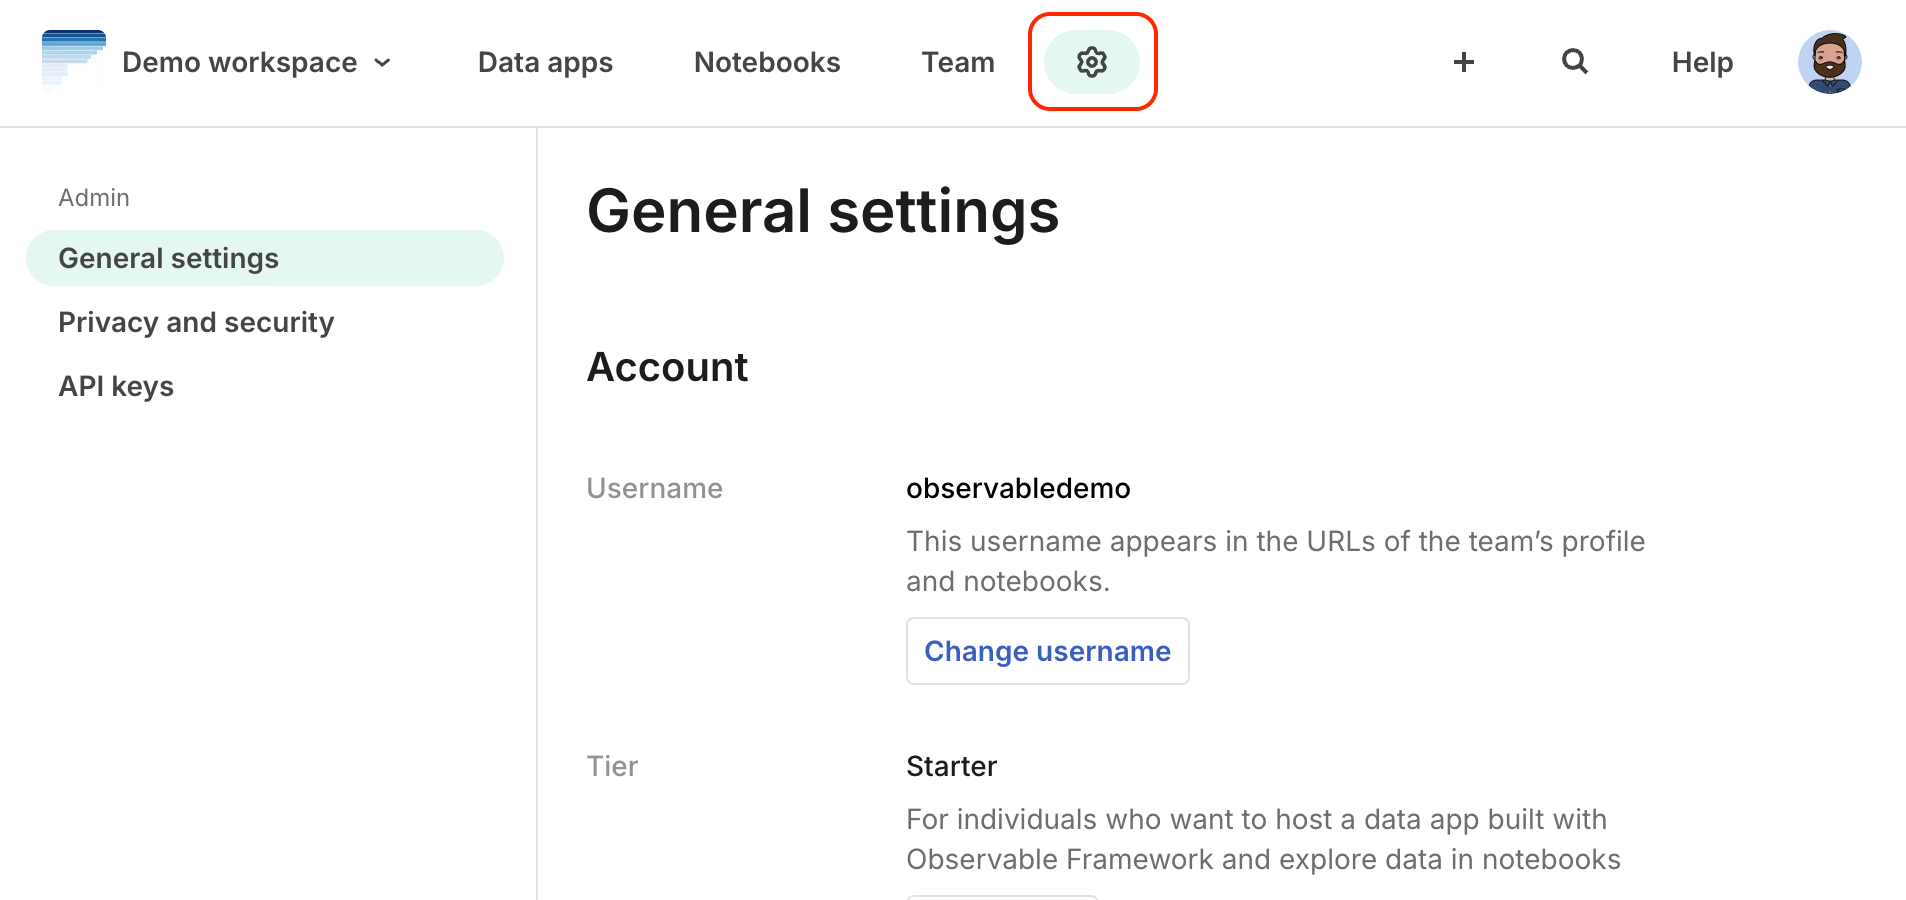
Skip to content

Workspace settings

The Settings pages allow you to configure your workspaces.

Click your avatar and then Settings to display the Settings pages.

A screenshot of the account menu with the Settings item highlighted
Click Settings to view the Settings pages.

If you belong to several workspaces, you can select the one you wish to modify:

A screenshot of the settings submenu showing the different users and workspaces a user might belong to
You can alter Settings in any workspace you have permission to edit.

The available Settings vary depending on which workspace you are configuring.

Free workspaces

A screenshot of the settings navigation menu, listing options for General and Membership
Settings for free workspaces.

For workspace settings in general, note that only workspace owners will see all workspace settings, as some features, such as changing workspace roles, are only available to owners.

General

Workspace owners can configure the workspace's account, profile, and preferences.

  • Account
    • Set or change the workspace's username (which appears in the URLs of the workspace's profile and notebooks).
    • Change the workspace tier (for example, from a Free workspace to a Pro workspace).
    • Set or change the email address to receive notifications and messaging about the workspace account.
  • Profile
    • Customize the workspace's avatar and banner.
    • Set the workspace's display name.
    • Write a brief workspace biography.
    • Specify workspace web sites.
    • Specify a publicly-visible email address for the workspace.
  • Preferences
    • Choose whether or not to use Prettier to format code in all workspace notebooks.

Membership

Allows you to invite people to become new workspace members, change their roles, or remove them from the workspace. Current and invited workspace members appear in a list, along with their roles. If an invited workspace member has not yet accepted, their name appears with a Pending label.

Pro workspaces

A screenshot of the settings navigation menu, listing options for General, Membership, Secrets, Databases, API Keys, and Billing
Settings for Pro workspaces.

The settings for the Pro workspace are mostly the same as those seen in workspaces described earlier, with a few differences.

General

As described in the General section for Free workspaces, with the following addition:

  • Workspace preferences
    • Enable or disable newly-created notebooks from being private (not shared with the workspace).

Membership

As described in the Membership section for Free workspaces, with the addition of pricing information for the roles that incur a monthly charge.

In the Invite by domain section, you can setup a domain and default role from which users from your organization will be invited to join your workspace during their account signup process. Once invited, users will automatically have access to all the available assets in that workspace. To note, only owners will be able to see this option in their workspace settings.

Secrets

Shared secrets for use in your workspace's private notebooks. Use secrets to store API keys and other sensitive values you don’t want to hard-code in notebooks.

Databases

Shared database connections for your workspace's private notebooks.

API Keys

Use API keys to securely load and embed private notebooks outside of Observable.

Billing (visible only to workspaces owners)

Visible only to workspaces owners. You can change your subscription by altering either the tier or the billing period, and edit the payment method. The timing of your current billing cycle, and the next billing cycle are shown, as well as invoices.

Billing is described in detail in below.

Enterprise workspaces

The settings for Enterprise workspaces are identical to the settings for Pro workspaces, with the exception of Groups and Permissions.

Groups

EnterpriseLearn more about Enterprise
A screenshot of the Groups section in the settings, showing different groups with their members
Enterprise workspaces have a Groups section.

Groups allow you to share notebooks, collections, database connections and secrets for defined list of users. Under the Membership section in your Enterprise workspace settings, you'll find a section for Groups. There you can create a new group by clicking on the "New Group" button, adding a name to your group, and selecting workspace members to that group. Owners and editors in your Enterprise workspace can create new groups. A workspace editor can add or remove other workspace members from a group that they are a member of, and they can also delete a group that they are on. A workspace owner can edit or delete any group.

Once you've set up your group, you can share content like you normally would for any individual user. For example, on a notebook, clicking on the share modal and searching for workspace members will also return Groups, allowing you to easily grant access to multiple workspace members. Like users, you can grant a group edit and/or view access to content.

Screenshot of the Permissions tab in the Settings, showing checkboxes to enable or disable team editors managing public content and file attachments.
Enterprise team options.

Protecting team assets

EnterpriseLearn more about Enterprise

In order to protect team assets, public notebooks (listed or unlisted) do not have access to secrets and database connections.

In addition, as a team owner, you can configure whether you want to limit who in the team can make content public, by checking a box in the permissions tab of your team settings, as shown earlier. For more information about this feature, please refer to this notebook.

You can also select whether you want to allow File Attachments in your team’s workspace.

Authentication and identity management

EnterpriseLearn more about Enterprise

As an Enterprise Team owner, you can require all team members to be authenticated against your domain(s). This protects your team assets from access by team members after they leave the organization.

This allows Enterprise customers to require that team members authenticate against a specific domain (or a group of domains) to gain access to the Team’s content on Observable. For team members who authenticate to Observable using other providers (personal Gmail accounts, GitHub, Twitter), they will be required to authenticate to both their personal authentication provider as well as your organization before gaining access to your team on Observable.

In addition, we also regularly check for a valid domain authentication and will request re-authentication if that check fails (for example, if someone is removed from your organization).

Screenshot of the user home page, listing the teams a user has access to, with the middle one showing as locked.
You can require team members to authenticate themselves against your domain.

Single sign-on

EnterpriseLearn more about Enterprise

Enterprise customers may avail of federated log-in using Gsuite and custom SSO providers.

"Single Sign-On" or SSO is the term used to describe the process where a user's identity is authenticated by an identity provider service for use with multiple applications. With SSO, users can have a single user name and password that works across all of the applications they use. Observable supports SSO using external identity provider services with built-in support for Google, GitHub, and Microsoft identity providers.

A feature available to Observable Enterprise teams allows them to associate their logins with their own additional identity provider service, like Okta Identity Cloud or OneLogin, using the standard OpenID Connect (OIDC) protocol. See the docs for more information about support for Enterprise SSO.

Legacy workspaces

Free Individual

A screenshot of the navigation sidebar for free individual workspaces, showing items for General, Moderation, and Billing
Settings for Free Individual workspaces.

General

This is where you configure your account, profile, and preferences.

  • Account
    • Set or change your username (which appears in the URLs of the your profile and notebooks).
    • Change your tier (for example, from the Free tier to the Pro tier).
    • Set or change the email address to receive notifications and messaging about the account.
    • Delete your account if desired.
  • Personal profile
    • Customize your avatar and banner.
    • Set your display name and pronouns.
    • Write a brief biography.
    • Specify any Web sites that you wish to have associated with your profile.
    • Specify a publicly-visible email address.
  • Editor Preferences
    • Enable or disable the automatic insertion of closing parentheses and brackets.
    • Enable or disable the use of Prettier to format code in all team notebooks.
    • Enable or disable spell checking in Markdown cells and comments (where supported by browser).
    • Enable or disable keyboard shortcuts to make it easier to create new JavaScript cells.
  • Misc preferences
    • Show or hide the Quick guides on your home page.

Moderation

Enables you to block users or teams from sending invitations to join their team. When you receive an invitation to join a team, a link appears at the bottom of the invitation, enabling you to block the user or the team sending the invitation:

A screenshot of the invitation email sent when adding a user to a team, with the options to block to user or team highlighted on the bottom
You can block either a user or a particular team from sending invitations.

Clicking either link will ask you to confirm:

A screenshot of the block team dialog with the options to cancel or confirm
Click Confirm to make the blocking action final.

Once you have blocked a user or workspace, it will show up under the Moderation heading:

A screenshot of the moderation settings page, listing blocked teams
Example of a blocked workspace.

Pro Individual

A screenshot of the settings navigation menu, listing options for General, Secrets, Databases, API Keys, OAuth Tokens, Moderation, and Billing
Settings for Pro Indidual workspaces.

The Pro Individual workspace is like the Free Individual workspace, but adds the following settings:

Secrets

Shared secrets for use in your workspace's private notebooks. Use secrets to store API keys and other sensitive values you don’t want to hard-code in notebooks.

Databases

Shared database connections for your workspace's private notebooks.

API Keys

Use API keys to securely load and embed private notebooks outside of Observable.

OAuth Tokens

OAuth tokens are used to allow notebooks to access data in cloud files. After you have signed in to the cloud service provider for a given cloud file, an OAuth token is stored in your Settings so that you will not have to sign in each time you want to visit a notebook that requires them. See Cloud Files for more information.

Billing & upgrades

Note

You must be a workspace owner to make changes affecting workspace membership or billing.

Billing information: The workspace's previous invoices as well as estimated charges for the next billing cycle can be viewed in Settings > Billing.

Billing is based on the number of owners or editors.

  • Adding viewers is free (guest viewers included).
  • Adding editors, guest editors or owners changes the quantity of licenses for the workspace, which has an impact on billing.
  • For this reason, workspace owners are the only workspace members who can invite or remove other members from the workspace, as well as set workspace roles.

Invitations expire after 10 days, so you may need to re-invite members if they wait too long to accept the invitation.

Adding workspace members: You are not charged until the invitation is accepted, which causes the workspace's subscription quantity to be incremented (if the new workspace member is an owner, editor or guest editor). However, this does not immediately trigger a new invoice.

  • If you are billed monthly, your next invoice will include a prorated amount for the fraction of the billing cycle used by the new workspace member(s).
  • If you are billed annually, we will send a new invoice within a month of the change (if there was a net add to the workspace), to true up the annual license to the new subscription amount. This allows you to remove and add new workspace members and only deal with the net changes of the workspace composition once a month.

Removing workspace members: Decrements the subscription quantity. You do not receive a refund if you remove workspace members during a billing cycle, but adding workspace members back would not result in a new charge.

Switching from monthly to annual billing: You can switch from monthly to annual billing, which will set a new billing cycle and immediately charge you for the year.

The billing settings dialog, showing options to pay yearly or monthly.
You can change from monthly to annual billing from the Change tier modal.

Switching from annual to monthly billing: It is likely that the invoice amount will be zero assuming that the prorated credit for billing annually is greater than the new monthly bill (that is, assuming that you switch to monthly billing more than one month from the end of your billing cycle). Your future monthly charges will be credited with the annual payment until that runs out.

Changing to a different workspace tier: You can change the tier from Settings.

Go to Settings > General, then click Change tier:

The General settings tab, showing the Chage tier button highlighted.
Click Change tier to display the Change Tier modal.

Note

In a private or Enterprise workspace, you can also reach the Change tier modal from Settings > Billing (visible only to workspace owners).

The Change subscription modal allows you to select a different workspace tier:

The Change subscription dialog, showing options for Free, Pro, and Enterprise.
The Change subscription modal.

Workspace cancellation: When a workspace owner cancels the workspace, by pressing the “Cancel” link in the workspace settings:

  • The workspace will stay active until their current paid-for billing period ends, at which point the workspace will become read-only.
  • While cancelled, a workspace owner may not add or remove workspace members, and outstanding invitations will not be accepted.
  • Deactivated workspaces enter read-only mode, which allows workspace members to view and transfer private and public notebooks and trash and untrash them, but not create new notebooks or edit existing ones.
  • Cancelled workspaces still appear in members’ user menus, and keep their public profile pages.

(This is also described in our terms of service.)

Workspace deletion: A workspace owner can request that the workspace account be deleted by contacting teams-support@observablehq.com:

  • The workspace is marked as deleted, and stops appearing in search results, on public listings, and in the user menu of workspace members.
  • All workspace notebooks, collections, secrets, and database credentials are deleted.
  • If the workspace owner added people to the workspace before cancelling, there could be a final bill, which will be immediately charged.

Workspace delinquency:

  • The workspace owner will be notified about failed payment(s).
  • If there is no response, the subscription will be cancelled, and the account will become read-only.
  • In order to reactivate a delinquent account, the workspace owner must submit valid payment information or change to the free workspace tier.